How to Grow Microgreens Without Soil
Microgreens are like the sprinters of the plant world, fast, efficient, and packed with energy! But did you know you don’t need soil to grow these tiny powerhouses of nutrition? That’s right! You can grow microgreens without soil, leaving behind the mess and making gardening accessible for anyone, anywhere. If you’re ready to ditch the dirt, keep reading!
Why Grow Microgreens Without Soil?
Growing microgreens without soil is like trading in a clunky old typewriter for a sleek laptop, it’s efficient, modern, and a total game-changer. Here are a few reasons to go soil-free:
- Cleanliness: No muddy hands, no muddy countertops, and no muddy mess.
- Pest Control: Soil is home to bugs and bacteria, but soil-free methods are squeaky clean.
- Space-Saving: Perfect for apartments, dorm rooms, or even that shelf in your pantry.
- Reusability: Many soil-free growing mediums can be used multiple times, saving you money.
Essential Supplies for Growing Microgreens Without Soil
Before you start, gather these essentials. Think of it as building your microgreen toolkit!
- Growing Tray: Go for shallow trays, they’re the perfect fit for microgreens.
- Soil-Free Growing Mediums: Options include:
- Coconut coir (soft, spongy, and eco-friendly).
- Jute mats (great for water retention).
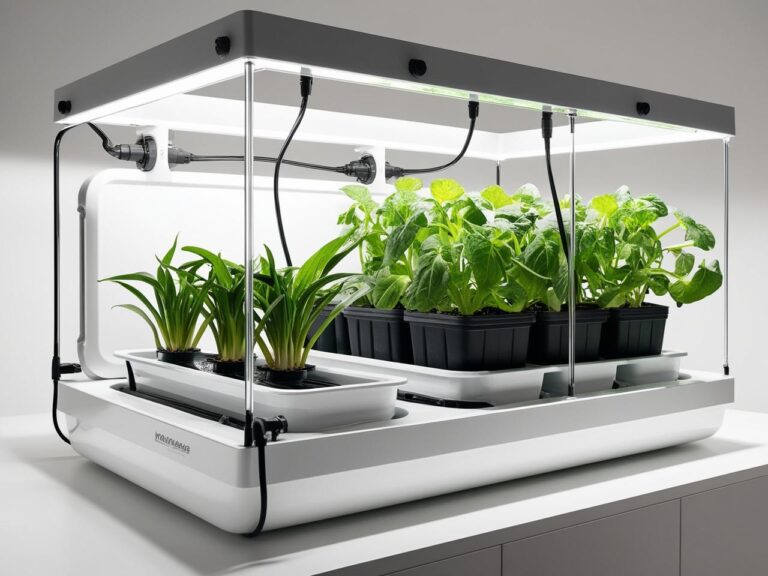
- Hydroponic grow mats (designed for clean and efficient growth).
- Water: Clean, filtered water works best. Your greens deserve it.
- Lighting: Whether it’s a sunny windowsill or an LED grow light, microgreens need about 12–16 hours of light daily.
- Seeds: Not just any seeds, choose ones meant for microgreens, like radish, broccoli, or pea shoots.
- Optional: A spray bottle for gentle misting.
Step-by-Step Guide to Growing Microgreens Without Soil
Ready to get your hands…clean? Let’s dive into the soil-free microgreen method!
1. Prepare Your Growing Medium
- Choose your medium: coconut coir, jute mats, or hydroponic pads.
- Dampen it with water, just enough to feel moist but not soggy. Think “damp sponge,” not “drenched sponge.”
2. Spread the Seeds
- Scatter seeds generously across the surface. Don’t worry about perfect spacing; microgreens thrive in close quarters.
- Gently press them down so they stay put.
3. Cover for Germination
- Place another tray or a lid over your seeds. This creates a humid environment that microgreens love. It’s like a spa day for your seeds!
4. Remove the Cover and Add Light
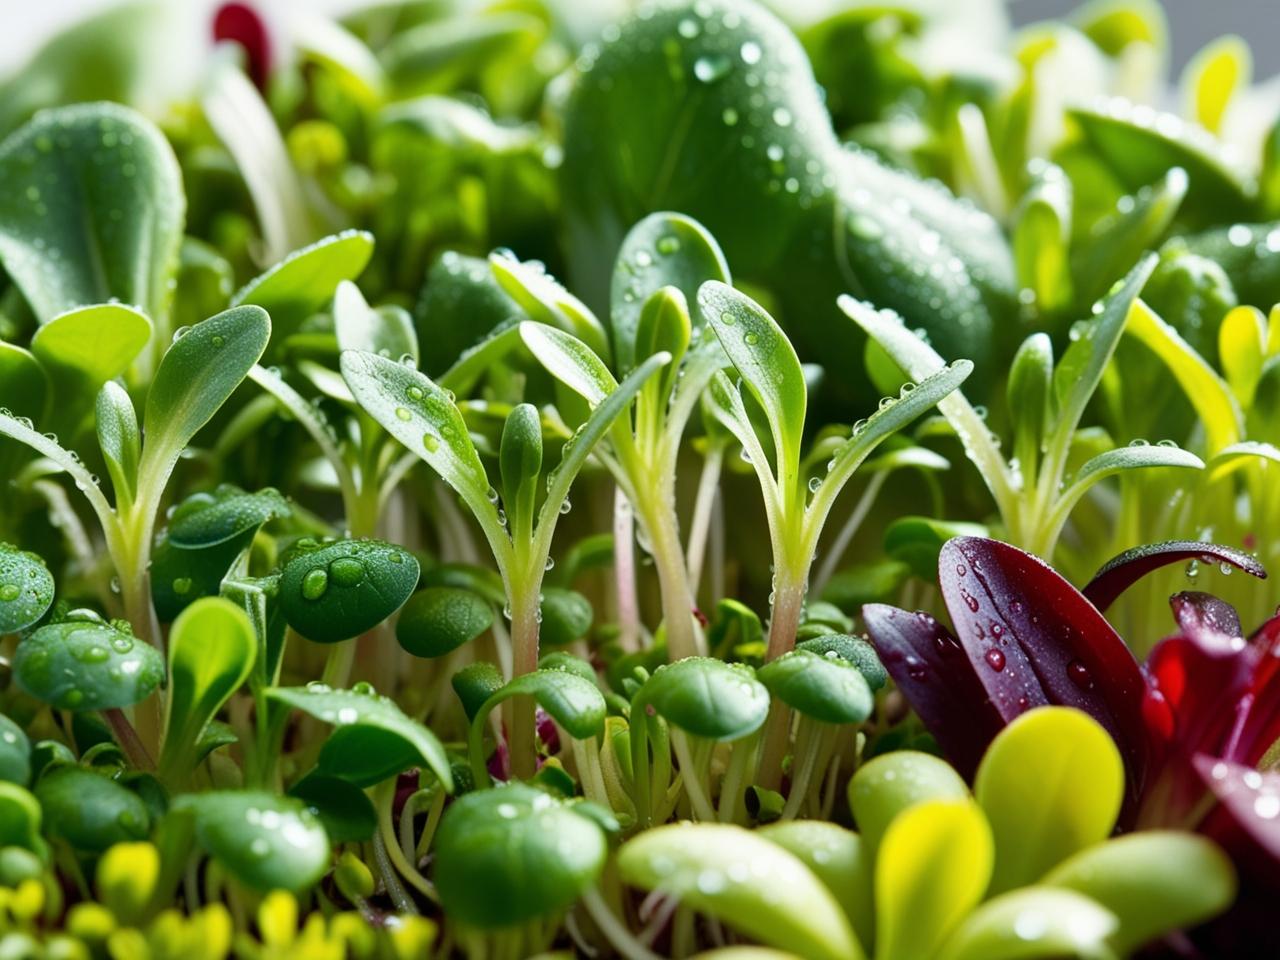
- Once the seeds sprout (usually within 3–5 days), remove the cover and expose them to light.
- LED grow lights work wonders, but a sunny windowsill can do the trick.
5. Water Regularly
- Keep the growing medium moist but avoid overwatering. Too much water can lead to mold, and nobody wants that.
6. Harvest
- When your microgreens reach about 1–2 inches tall (usually 7–14 days), it’s time to harvest!
- Use scissors to snip them just above the growing medium.
Popular Microgreens for Soil-Free Growing
Not sure which microgreens to try first? These varieties are beginner-friendly and taste amazing:
- Radish: Zippy and full of crunch.
- Broccoli: Nutritious and mild.
- Pea Shoots: Sweet and versatile.
- Sunflower: Nutty and delicious.
- Mustard Greens: A bold, spicy kick.
Common Challenges
Even the best gardeners face challenges. Here’s how to keep your microgreen adventure on track:
- Mold Problems: Make sure there’s good airflow and avoid overwatering.
- Leggy Growth: If your microgreens are stretching for the light, move the source closer.
- Slow Germination: Check that your medium is consistently moist and your seeds are high quality.
FAQs
Do microgreens need soil to grow?
Nope! You can grow microgreens on coconut coir, jute mats, or hydroponic pads.
How long does it take to grow microgreens without soil?
Microgreens are harvest-ready in 7–14 days, depending on the variety.
Can I reuse the growing medium?
Some, like hydroponic pads, are reusable with proper cleaning.
Why You’ll Love Soil-Free Gardening
Going soil-free with microgreens is a game-changer. It’s easy, fun, and mess-free and you’ll have fresh, healthy greens at your fingertips in just a couple of weeks. Whether you’re adding them to salads, sandwiches, or smoothies, you’ll taste the difference. Happy Gardening!


