Easiest and Cheapest Hydroponic System You Can Start Today!
Getting started with hydroponics doesn’t have to be expensive or complicated. One of the best things about hydroponic gardening is its versatility, making it possible to start small and scale up as you go. If you’re ready to grow plants without soil but want a system that’s easy to set up and budget-friendly, look no further! We’ll walk through a simple hydroponic setup you can assemble today, perfect for beginners eager to dive in with minimal investment.
The Kratky Method: Simple, Affordable, and Effective
1. What is the Kratky Method?
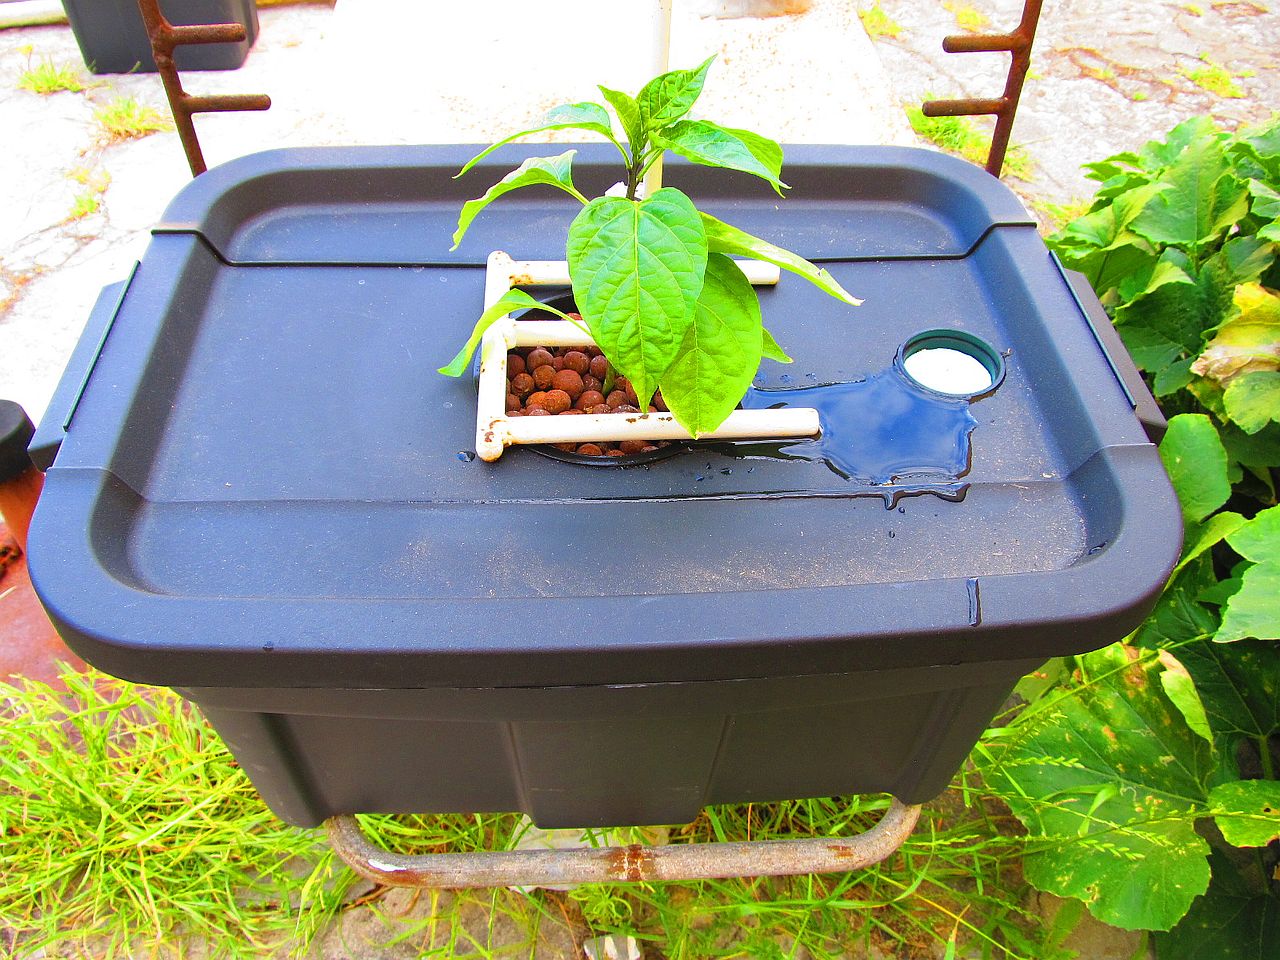
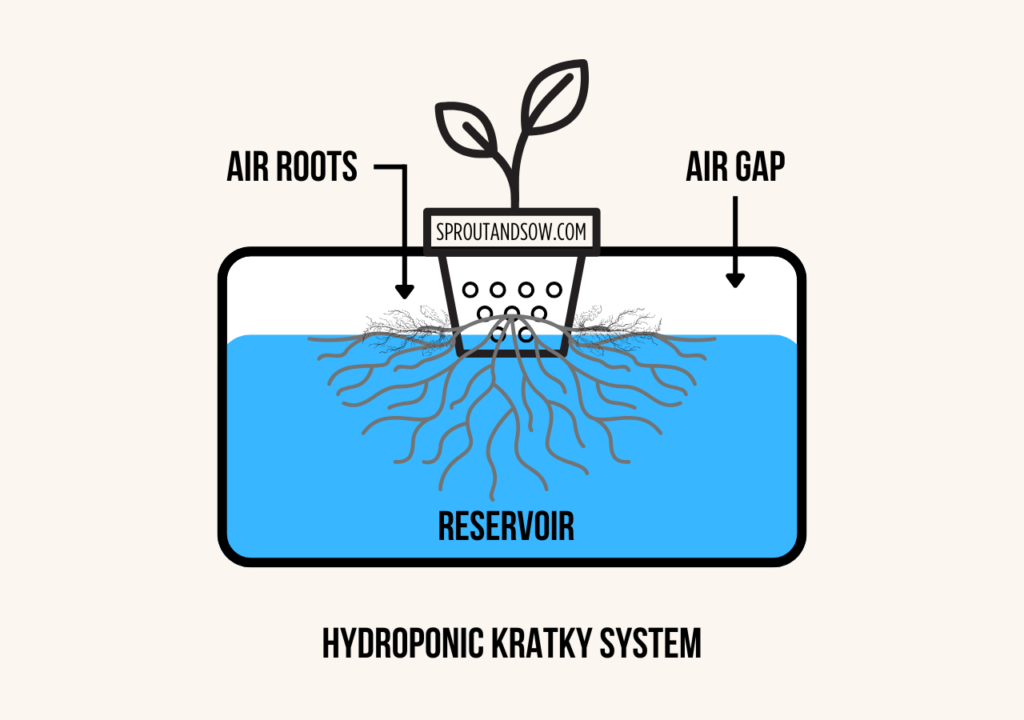
The Kratky method is a passive hydroponic system that’s about as simple as it gets, no pumps, no electricity, and very little maintenance. Named after Professor B.A. Kratky, this method involves placing plants in a container with a nutrient solution. As the plants grow, the water level gradually drops, exposing the roots to both water and air, which is essential for healthy root development.
2. Why the Kratky Method is Perfect for Beginners
- Low Cost: Requires minimal materials, like a container, net pots, and a nutrient solution, making it one of the most affordable hydroponic systems.
- No Pumps or Timers: With no moving parts, the Kratky system doesn’t require air or water pumps, saving you both money and effort.
- Set and Forget: Once you set up the system, there’s very little ongoing maintenance required, as plants naturally absorb water and nutrients.
Setting Up Your First Kratky System
just a few EASY STEPS
Here Some Things You Might Need
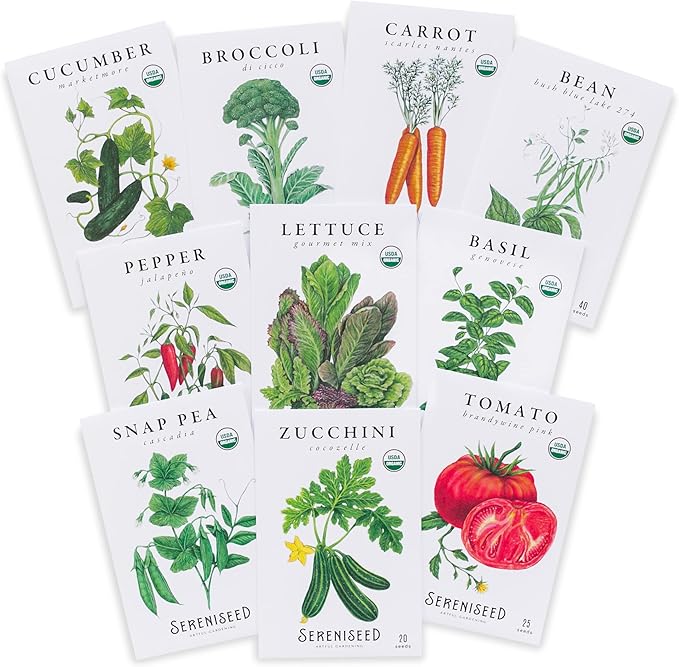
- Leafy Greens: Lettuce, spinach, and Swiss chard are easy to grow and thrive with minimal maintenance.
- Herbs: Basil, cilantro, parsley, celery and mint are perfect for beginners.
- All these in the image are good for beginner hydroponics, except for the carrots.
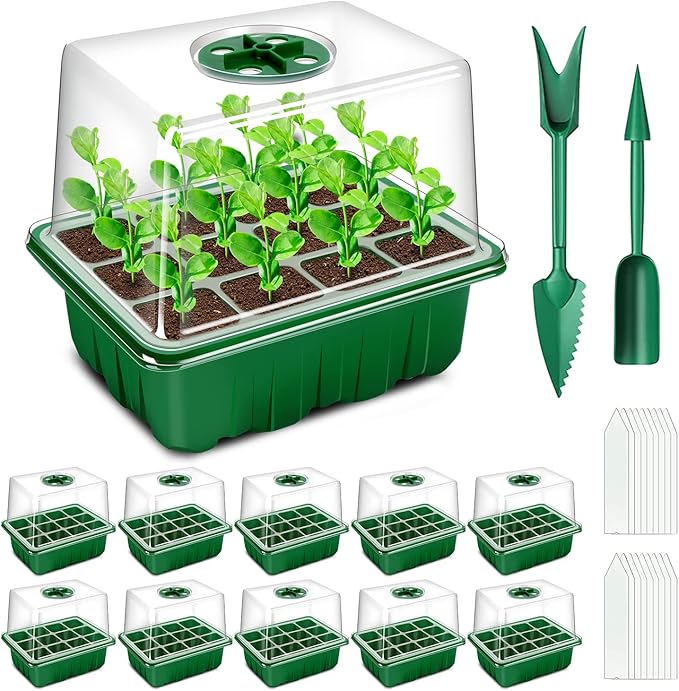
Plastic trays with domes give your plants the best chance to germinate, keeping in the moisture and warmth for the best growing conditions.
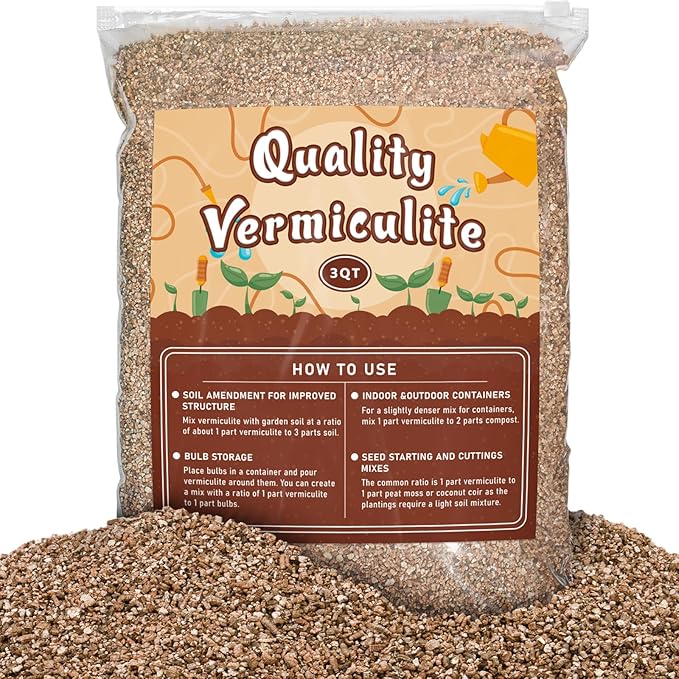
Vermiculite is great growing medium for the germination stage. Holds water and doesn't dry out to quickly.
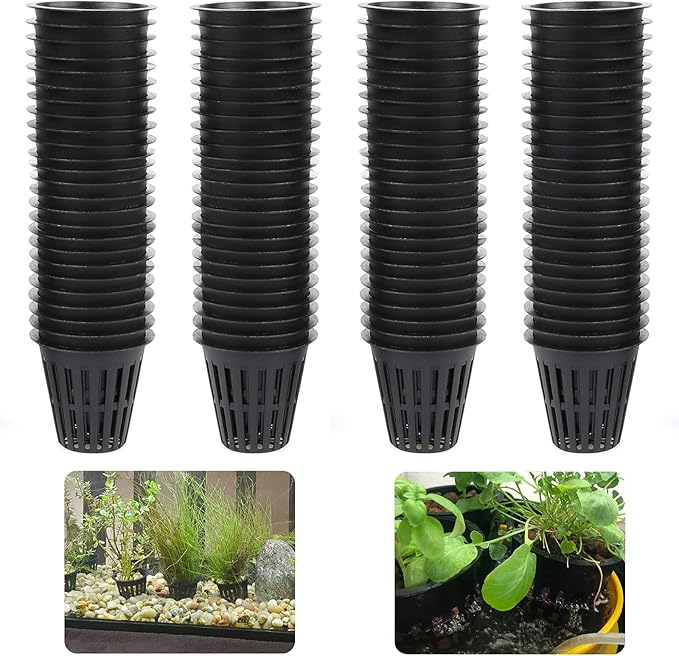
These small, slotted containers hold the plants and sit at the top of your container, 2" or 3" are good for herbs and small plants, 5" or 6" good for bigger plants like tomatoes squash, cucumbers, etc...
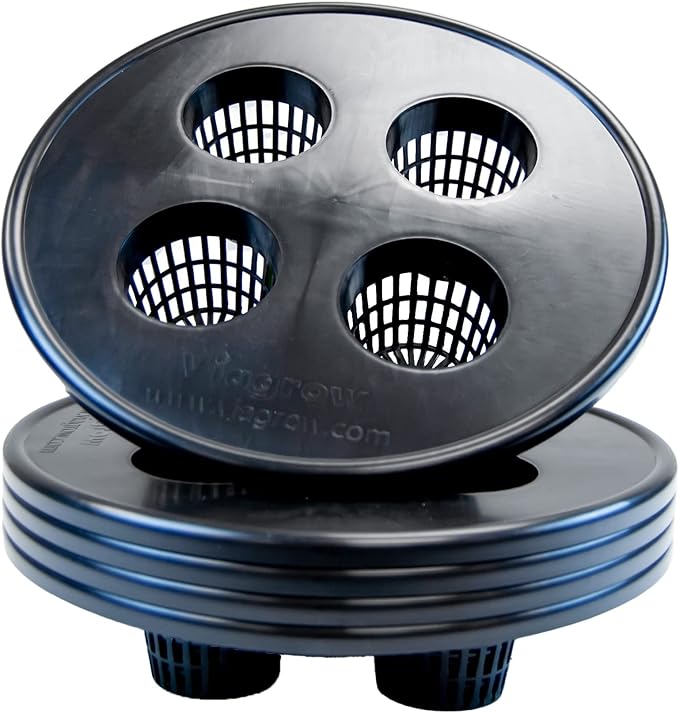
These 4 x 3 inch net pot lids are good for herbs and small plants. 5" or 6" good for bigger plants like tomatoes squash, cucumbers, etc. Will fit standard 3.5 Gal. and 5 Gal. buckets.
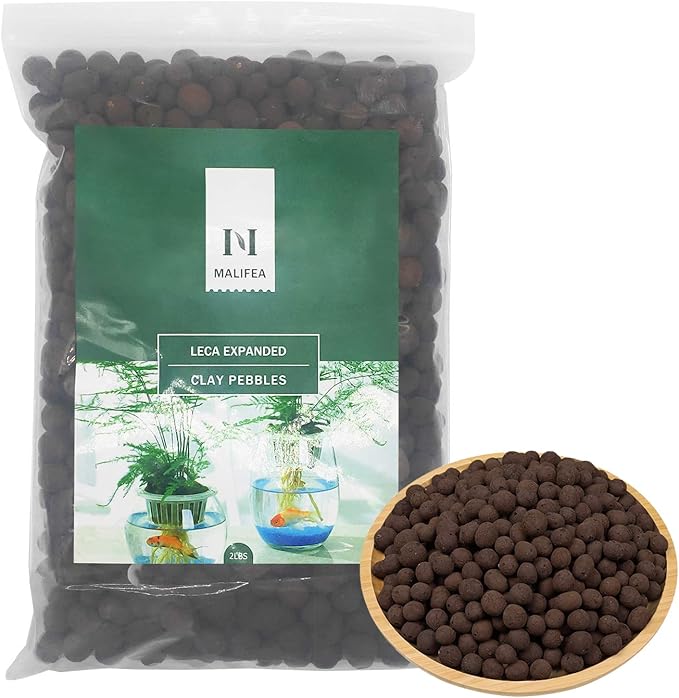
Materials like Leca expanded clay pellets help support plant roots in the net pot.
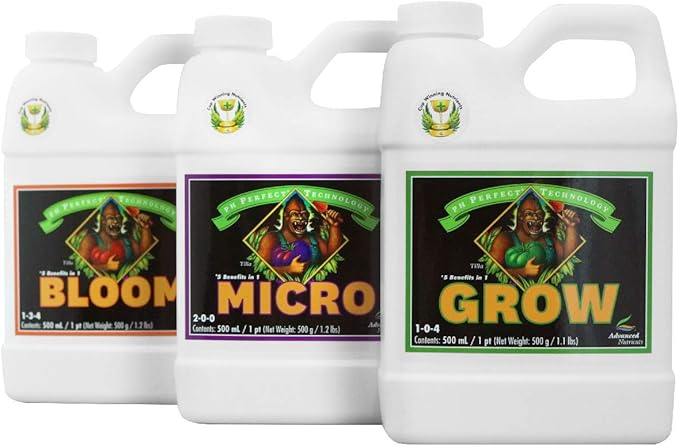
This is the “food” for your plants, mixed into the water for a balanced supply of essential nutrients. Follow directions on bottles.
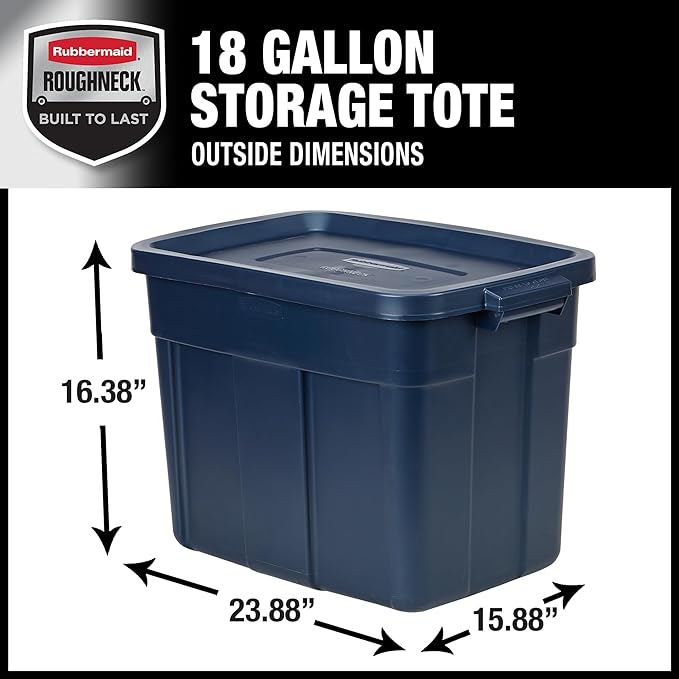
If you looking to grow tomatoes, squash or any bigger plants, these 18 Gallon Totes are a good size. Use with a 6 Inch Net Pot.
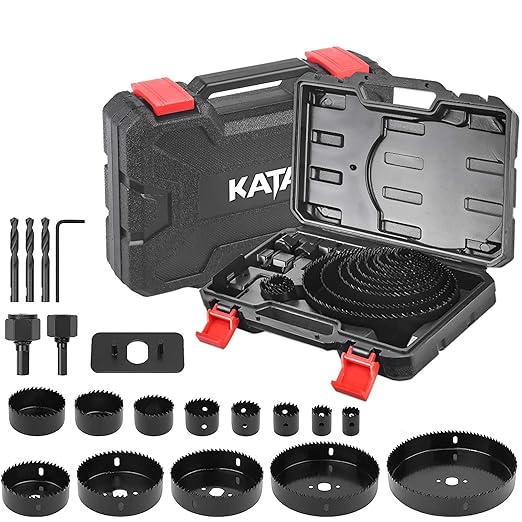
Contains every size hole saw that you would need to drill any holes for the different size net cups. Long term it's cheaper to drill your own holes, allows you to be able to use any plastic containers.
Step-by-Step Setup
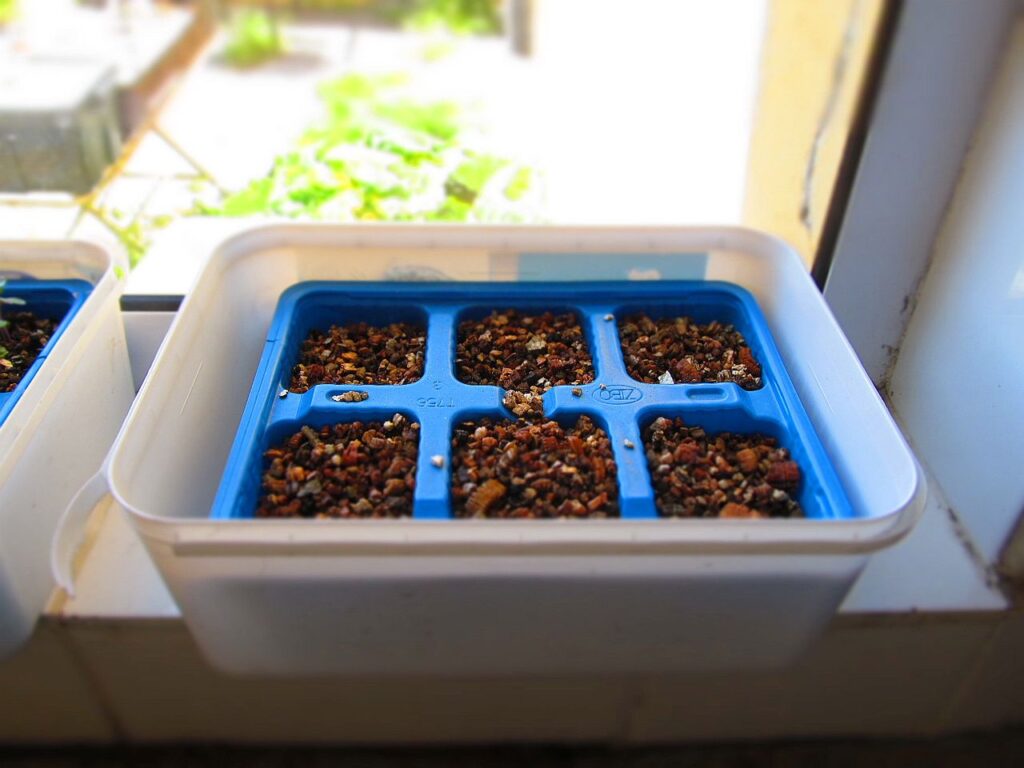
1. Prepare the Seed Starter Tray
- Fill each cell in the seed tray with vermiculite, leaving about an inch of space at the top. Vermiculite is recommended because it retains moisture well without becoming overly saturated, creating an ideal environment for germination.
- Sprinkle two or three seeds per cell and cover them with a thin layer of vermiculite. Planting multiple seeds per cell increases the chances of successful germination, and you can thin them out later if needed.
- Water the seeds lightly using a spray bottle to avoid disturbing the vermiculite. Gentle watering ensures the seeds remain in place and the vermiculite stays evenly moist.
- Use only tap water at this stage, as seedlings don’t need nutrients yet. Introducing nutrients too early can hinder germination and potentially harm delicate seedlings.
2. Place in a Bright Area
- Set the seed starter tray container in a well-lit area, like near a sunny window or under a grow light.
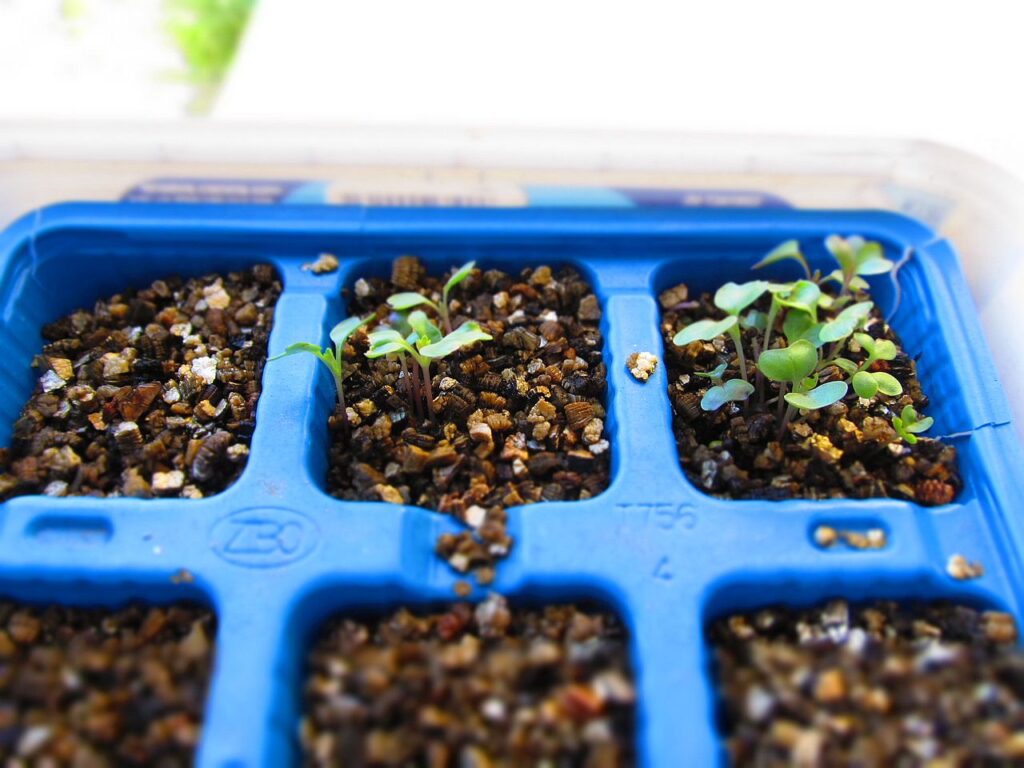
- Most seeds take about 10 to 16 days to germinate, but this can vary depending on the plant species. You can normally find the specific germination time for your chosen plants on the seed packet.
3. Monitor Water Levels
- Ensure the vermiculite remains moist while waiting for germination. Consistent moisture is essential for the seeds to sprout and develop roots.
- Fill the seed tray’s base with about half an inch to an inch of water, allowing it to wick up into the vermiculite. This method provides a steady supply of water without overwatering the seeds.
- Check the water level periodically and add more as needed. The frequency of watering depends on factors like the surrounding temperature and humidity.
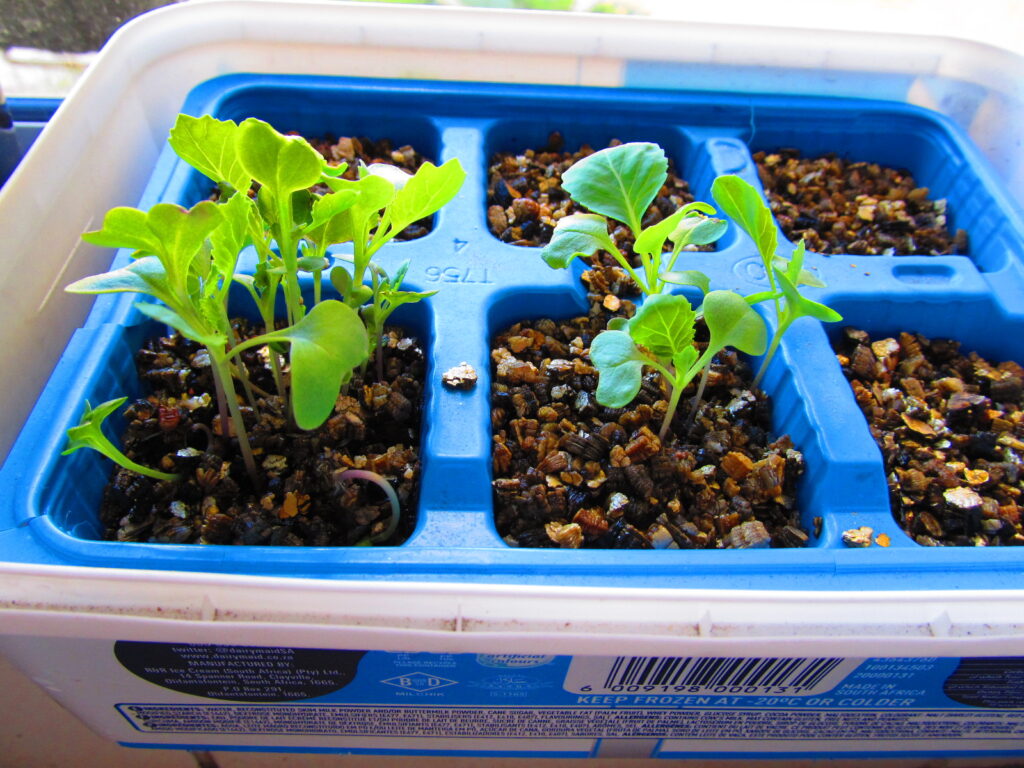
4. Seedlings
- Once the seedlings reach about 2-3 inches tall, transplant them into net cups filled with Leca clay pebbles. The clay pebbles provide support for the delicate stems and help to aerate the roots.
- Fill the container with a nutrient solution, ensuring the roots are submerged. The nutrient solution provides the essential minerals and elements that plants need for growth.
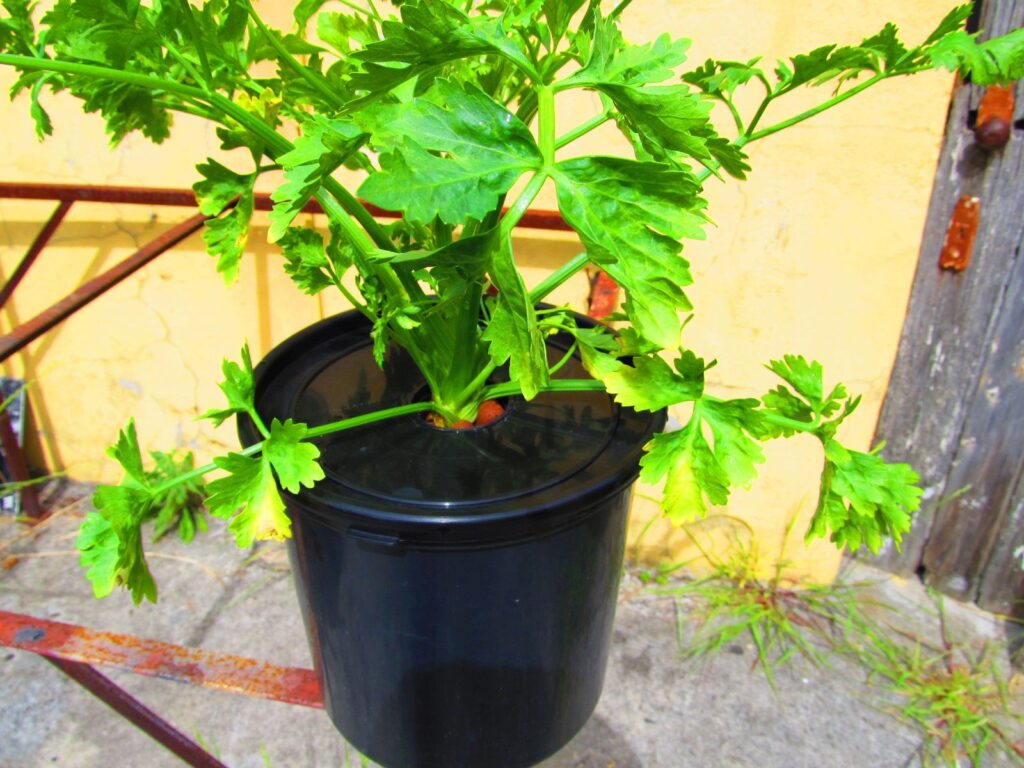
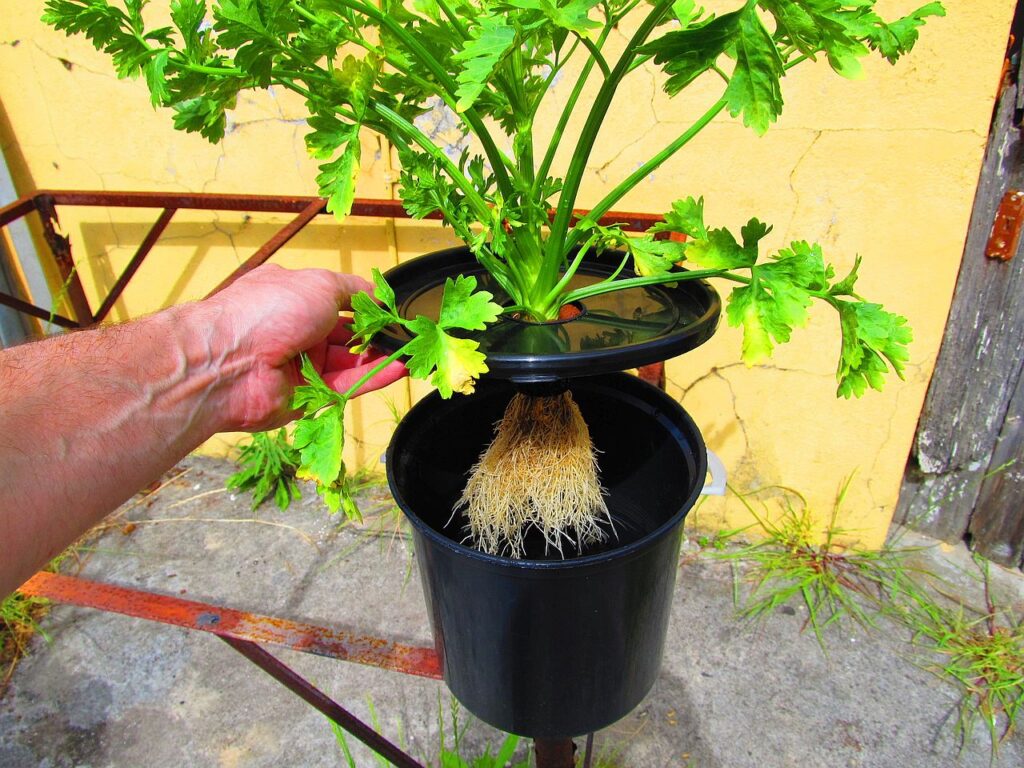
5. Adult Growing Phase
- The seedlings will adapt to their new environment and start growing rapidly. The Kratky method allows for excellent root development because of the constant access to both water and air.
- As the plants grow, they’ll consume the nutrient solution, and the water level will naturally decrease. This gradual lowering of the water level exposes more of the roots to air, promoting healthy root growth.
- You’ll eventually need to refill the container with nutrient solution. The frequency of refilling depends on the plant’s size and growth rate
Related: Common Hydroponic Mistakes Beginners Make and How to Avoid Them
Tips for Success
- Start with Fast-Growing Plants: Leafy greens and herbs are usually faster to grow and more forgiving for beginners.
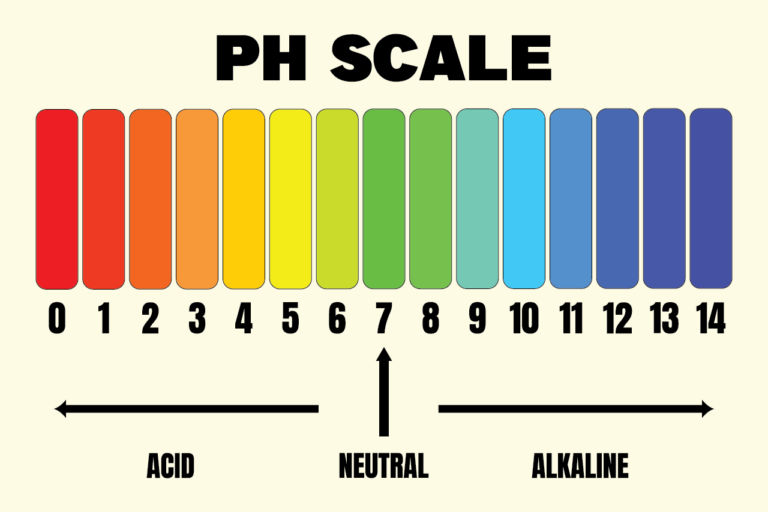
- Check pH Levels: Hydroponic plants thrive in a pH range of 5.5 to 6.5. If possible, test and adjust pH to keep your plants in their ideal range.
- Don’t use to much Nutrients: Less is more especially when dealing with seedlings, start low and as the plants get bigger you will slowly increase to the full amount of nutrients that’s needed.
Get your Free Hydroponic Garden Guide for recommended nutrient strength and pH values for over 100 different plants!
Conclusion
Starting hydroponics doesn’t have to be costly or complex. With the Kratky method, you can create a low-maintenance, budget-friendly hydroponic system in no time. This method is a great way to dip your toes into hydroponic gardening, with minimal setup and easy maintenance. So why wait? Grab a container, some seeds, and start growing fresh, soil-free produce today! Happy Gardening!

