As an Amazon Associate, I earn from qualifying purchases. Some links in this article are affiliate links, if you buy through them I may earn a small commission at no extra cost to you.
Quick Summary
- System Choice: Use Deep Water Culture (DWC) or Dutch Buckets to support heavy watermelon root structures.
- Nutrient Focus: Feed high nitrogen during vine growth, then transition to potassium and phosphorus for fruiting.
- Trellis Support: Grow vines vertically to save space, using mesh slings to cradle heavy melons.
- Hand Pollination: Hand-pollinate female flowers indoors to guarantee fruit set.
- Harvest Indicator: Pick watermelons when the curly tendril closest to the fruit dries up and turns brown.
Growing watermelons hydroponically produces crisp, sweet fruit on an accelerated timeline, but full-sized field varieties quickly overwhelm standard indoor setups. Success depends on selecting compact bush cultivars, providing aggressive aeration, and anchoring physical fruit slings to a vertical frame before melons gain weight.
Step 1: Choosing the Right Hydroponic System
Watermelons develop dense, high-volume root masses and consume considerable amounts of water during fruiting. Choose a system that accommodates heavy root development:
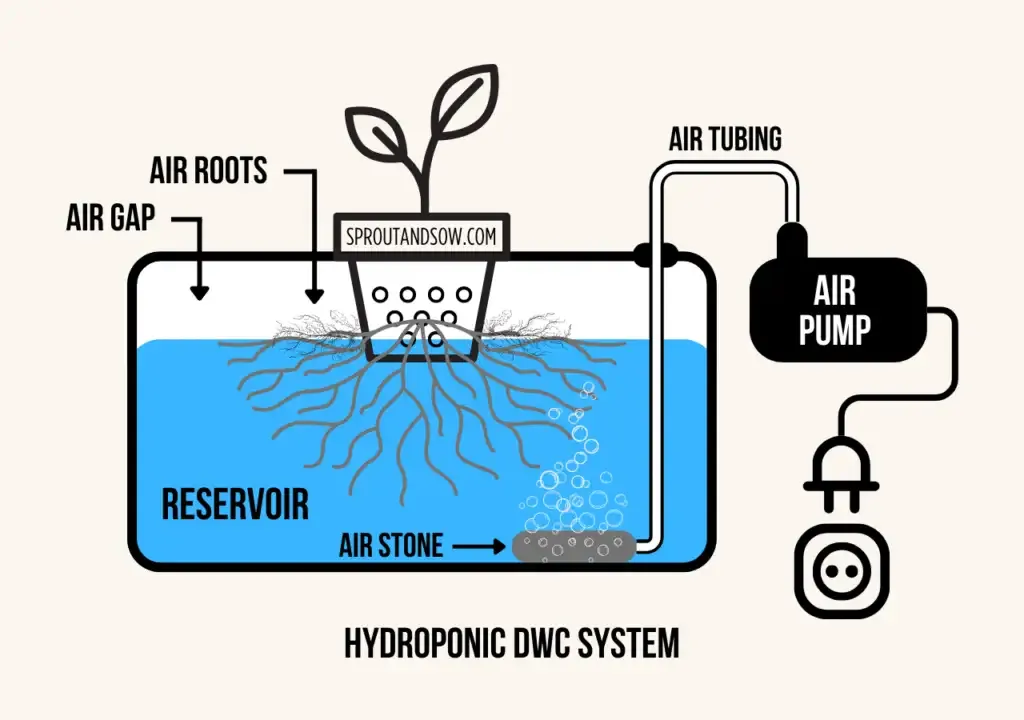
- Deep Water Culture (DWC): Submerges roots in heavily aerated nutrient solution. A 5-gallon bucket system with a 6-inch net pot lid provides excellent stability for single melon plants.
- Dutch Bucket System: The preferred commercial format for vine crops. Buckets are filled with perlite or LECA and plumbed to a central reservoir via drip irrigation, making large root masses simple to flush and manage.
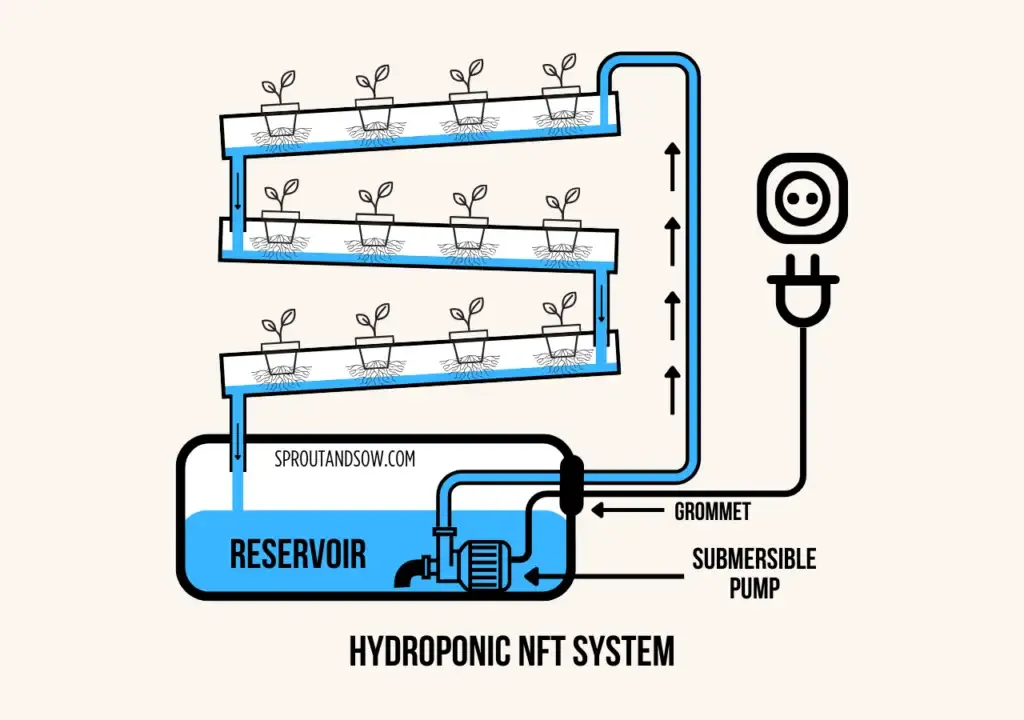
- Nutrient Film Technique (NFT): Not recommended for melons. Vigorous watermelon roots clog shallow NFT channels within weeks, backing up water and starving lower plants of oxygen.
Selecting the Right Watermelon Variety
Avoid sprawling field cultivars like Jubilee or Crimson Sweet in indoor hydroponics. Instead, choose compact icebox varieties that set 6–8 pound fruit on manageable vines:
- Sugar Baby: The standard choice for indoor cultivation. Produces sweet, round melons weighing 6–8 pounds on 6-foot vines.
- Golden Midget: An ultra-early cultivar that ripens in roughly 70 days. The yellow rind indicates maturity, and the pink flesh offers dependable sweetness on compact vines.
- Yellow Baby: A vigorous hybrid producing crisp, yellow-fleshed fruit with compact growth habits.
Step 2: System Setup and Aeration
- Reservoir Volume: Use at least a 5-gallon reservoir per plant. Mature melon vines transpire over a gallon of solution daily under strong grow lights.
- Substrate: Anchor seeds or plugs in expanded clay pebbles (LECA) or coarse perlite to ensure fast drainage around the root collar.
- Aeration: Run a dedicated air pump producing at least 3–5 liters of air per minute per bucket. Ample dissolved oxygen protects dense root mats against Pythium root rot.
Step 3: Nutrients and pH Levels
Watermelons are aggressive feeders with changing nutritional demands across their lifecycle. For general mineral target comparisons, check our optimal pH and EC values chart.
- Seedling and Early Vegetative: Maintain EC between 1.2 and 1.6 mS/cm. Use a balanced or nitrogen-focused nutrient formula to establish leafy vines.
- Flowering: Increase EC to 1.8 to 2.2 mS/cm. Equalize nitrogen and potassium to support bud emergence.
- Fruit Expansion and Ripening: Raise EC to 2.2 to 2.8 mS/cm. Transition to a bloom formula high in potassium and phosphorus to maximize fruit size and Brix sugar ratings. Review our guide on choosing hydroponic nutrients for details on fertilizer ratios.
Keep root zone pH between 6.0 and 6.5. If pH drifts outside this range, micronutrient absorption drops. Learn how to diagnose and correct drifting solution in our guide on managing hydroponic pH levels.
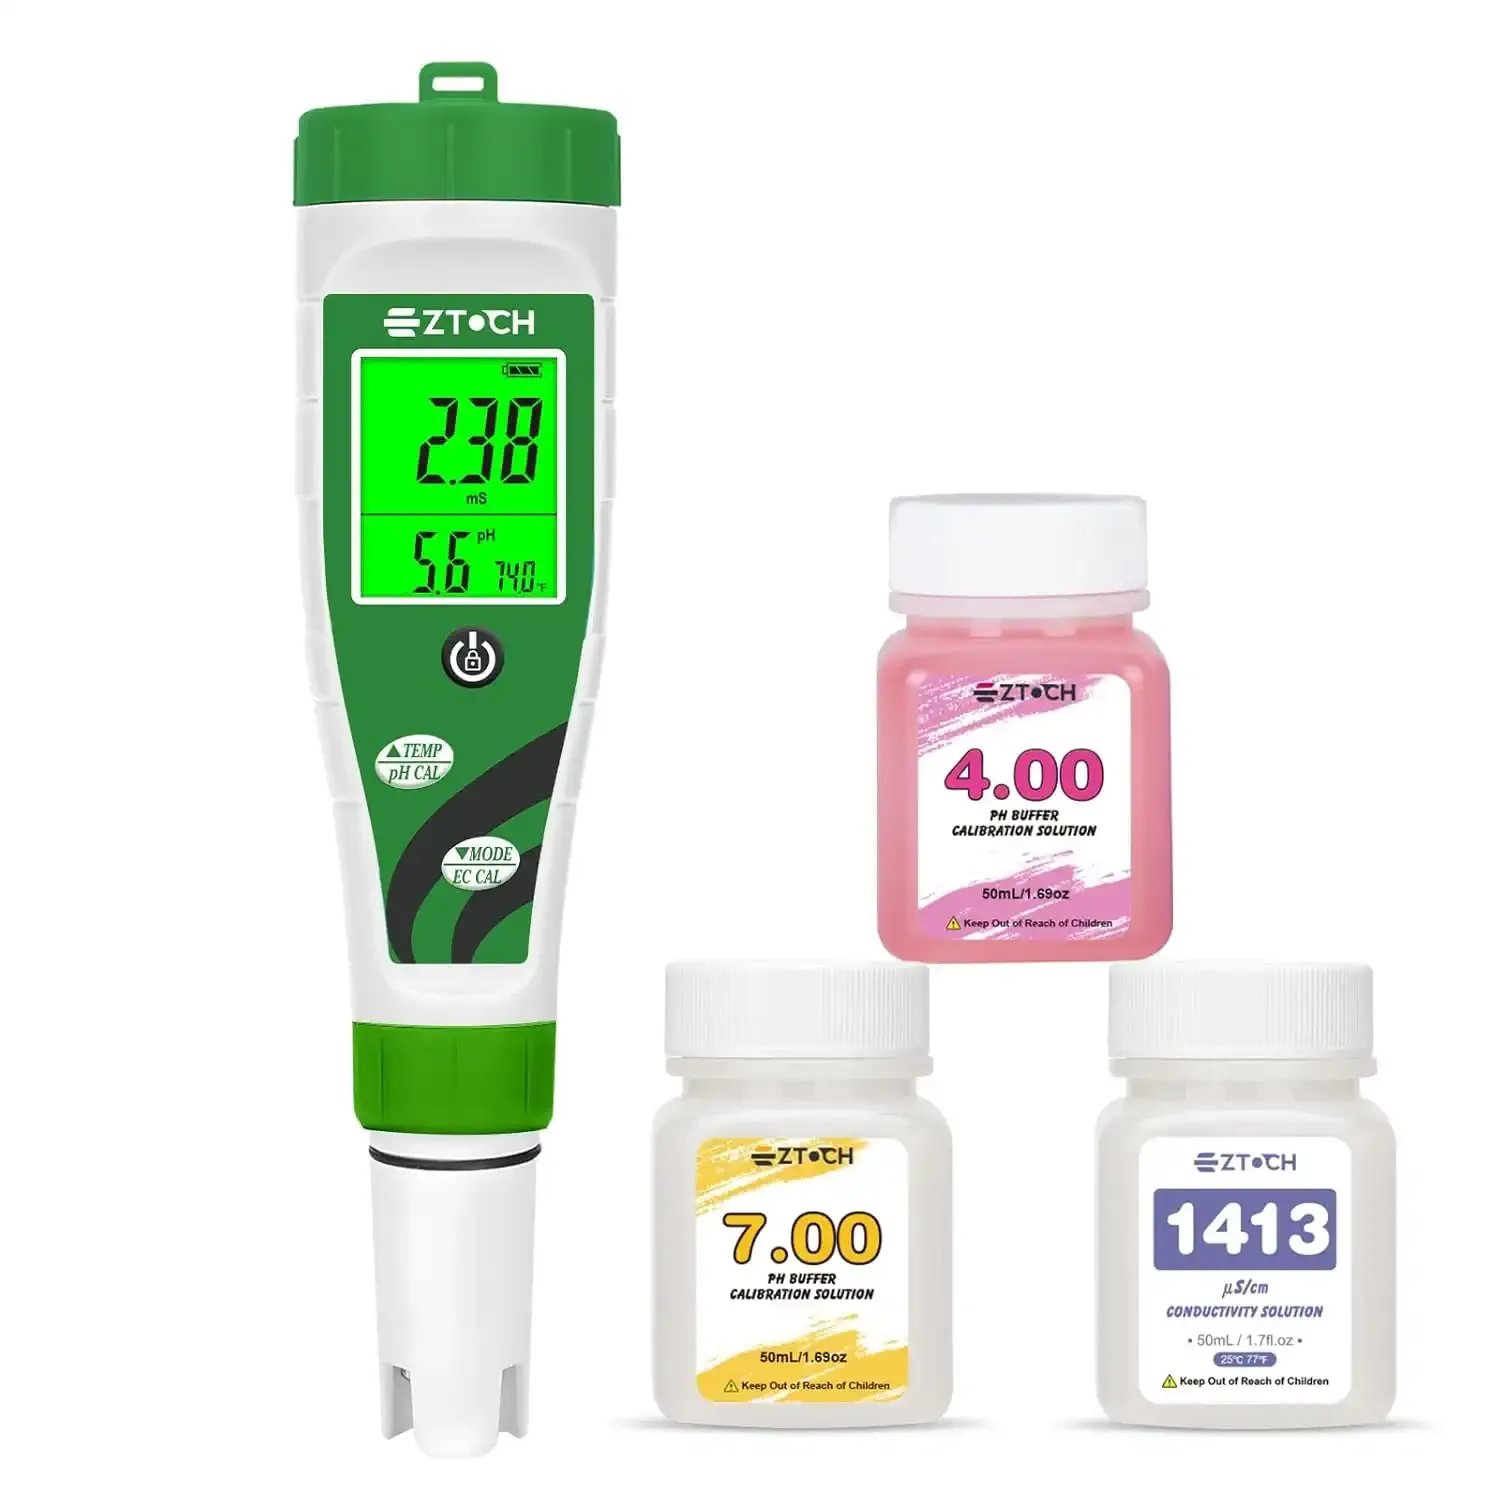
pH and EC Combo Meter Pen
Monitoring pH and EC is critical for heavy-feeding watermelons. This digital combo pen measures both pH and EC in seconds, helping you keep your watermelons in the sweet spot.
Step 4: Lighting and Temperature
Watermelons require 12 to 14 hours of high-intensity light daily. Hang full-spectrum LED fixtures 18–24 inches above the canopy to deliver adequate PPFD. Maintain ambient grow temperatures between 75°F and 85°F (24°C to 29°C). Cooler temperatures slow vegetative expansion and reduce sugar synthesis in ripening fruit.
Step 5: Hand Pollination
Indoor gardens lack natural insect pollinators, making manual pollination necessary once blossoms appear:
- Identify male flowers (slender stems) and female flowers (visible miniature bulb at the base of petals).
- Pluck a fully open male flower, peel back the petals to expose the pollen-covered anther, and dab it gently against the stigma of a female flower. Alternatively, transfer pollen using a soft artist paintbrush.
- Hand-pollinate in the morning when pollen viability is highest.
Step 6: Vertical Trellising and Fruit Support
Melon vines climb readily, but they cannot support the weight of suspended fruit on vertical structures. Left unsupported, hanging fruit will tear the vine or drop prematurely.
Separate vine support from fruit support:
- The trellis carries the vine: Direct main runners upward using garden twine, clips, or trellis netting.
- The sling carries the melon: When pollinated fruit reaches tennis-ball size, cradle it inside an elastic mesh sling, pantyhose, or hanging melon netView on Amazon. Anchor the sling directly to the main structural frame, not to lightweight trellis netting.
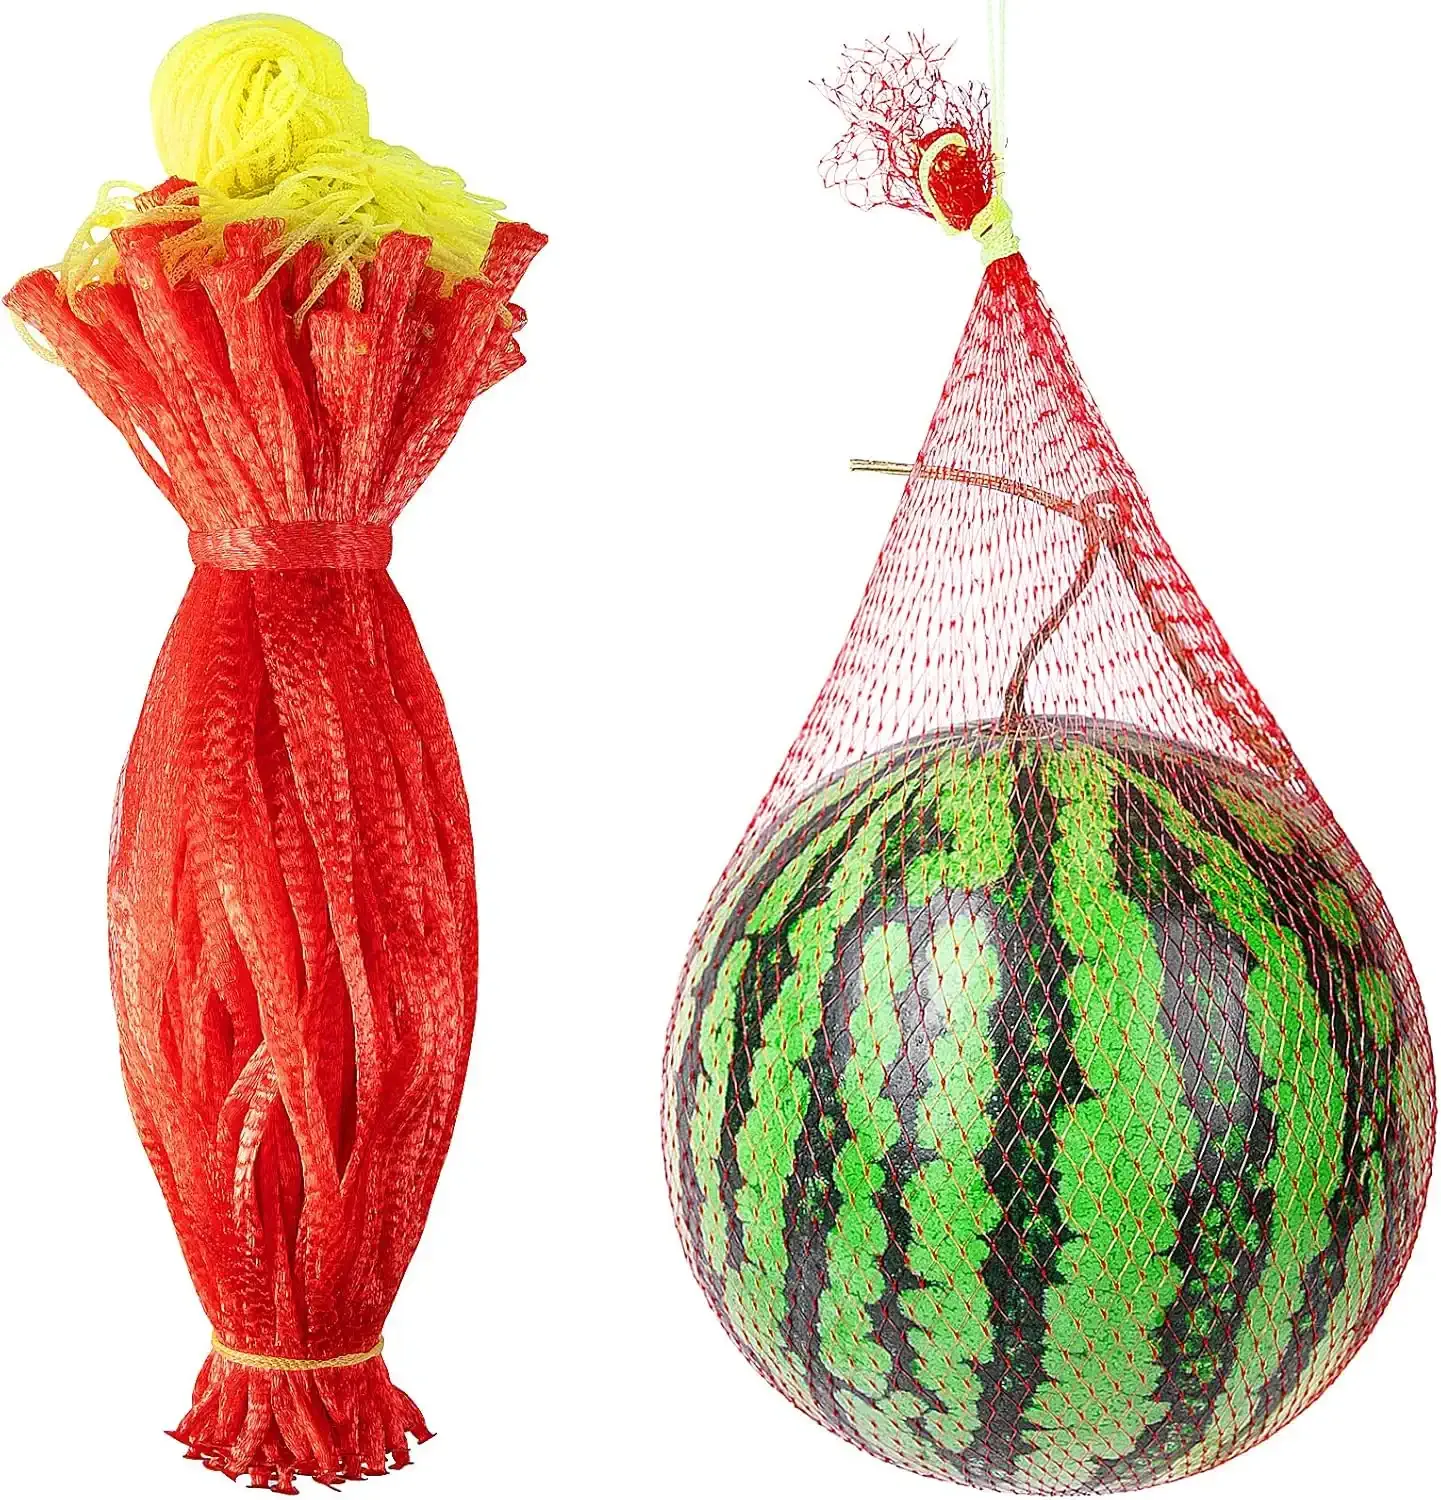
Hanging Watermelon Nets (50 Pack)
Made of lightweight, tear-resistant nylon, these elastic mesh hammock nets support up to 22 lbs. They prevent vine breakage on vertical trellises, are fully reusable and come in a 50-pack. Perfect for supporting melons or storing/drying garden vegetables.
Fruit Thinning
In a 5-gallon container setup, nutrient and water reserves are limited. Thinning improves quality:
- Allow only one or two melons to develop per vine.
- Pinch off secondary fruit sets and lateral vine tips once primary fruit establishes. This channels photosynthetic carbohydrates directly into expanding sugars within the chosen fruit.
Step 7: System Maintenance and Troubleshooting
- Water Top-Offs: Melons drink rapidly during fruit enlargement. Top off reservoirs with plain, pH-adjusted water between scheduled changes to prevent salt accumulation.
- Pest Checks: Monitor vine undersides for spider mites and aphids. If pests appear, treat with insecticidal soap or neem oil immediately. Review our hydroponic troubleshooting guide for symptom checklists.
- Preventing Root Rot: Keep water temperatures under 70°F (21°C) and inspect root masses weekly for clean white coloration.
Step 8: Harvesting
Hydroponic watermelons mature within 70 to 90 days from germination. Verify ripeness using three reliable indicators:
- The small curly tendril on the vine directly opposite the fruit stem turns dry and completely brown.
- The field spot on the underside of the melon changes from pale white to creamy butter-yellow.
- The rind turns dull rather than glossy and resists fingernail pressure.
Slice the fruit from the vine using clean shears, leaving one inch of stem attached.
Conclusion
Growing watermelons indoors with hydroponics is entirely feasible when you pair compact cultivars like Sugar Baby with proper Dutch buckets or DWC systems, reliable hand pollination, and suspended sling supports. Keep your nutrient concentration elevated during fruiting, maintain water temperature below 70°F, and enjoy sweet, homegrown melons on your own schedule. For lighting specifics, explore our guide to choosing the best grow lights.
Frequently Asked Questions
Can you grow watermelons indoors?
Yes, you can grow watermelons indoors using hydroponics, but you must provide sturdy vertical trellis support, hand-pollinate the flowers, and use high-intensity grow lights.
How do I support heavy watermelons in a vertical system?
Use elastic mesh hammocks, nylon netting, or cloth slings secured to the structural frame of your trellis to cradle developing melons and prevent vine snapping.
How long does it take to grow hydroponic watermelons?
Compact watermelon cultivars mature in 70 to 90 days from seed. Providing 75°F–85°F temperatures and 12–14 hours of daily full-spectrum light accelerates vegetative growth and ripening.
What is the best nutrient mix for hydroponic watermelons?
Start with a balanced or nitrogen-focused formula (1.2–1.6 mS/cm EC) for early vine structure, then transition to a potassium- and phosphorus-rich bloom solution (2.2–2.8 mS/cm EC) during fruit development to drive sugar accumulation.
Our Amazon Storefront
Browse all our recommended tools & supplies
Everything we personally use and trust, hand-picked for gardeners like you.

I've been running DWC and Kratky systems for several years and write about what actually works, not textbook theory. Follow along for honest product reviews, practical guides and real grow results.