As an Amazon Associate, I earn from qualifying purchases. Some links in this article are affiliate links, if you buy through them I may earn a small commission at no extra cost to you.
Quick Summary
- Kratky Method: A completely passive system operating without pumps, electricity, or moving mechanical parts.
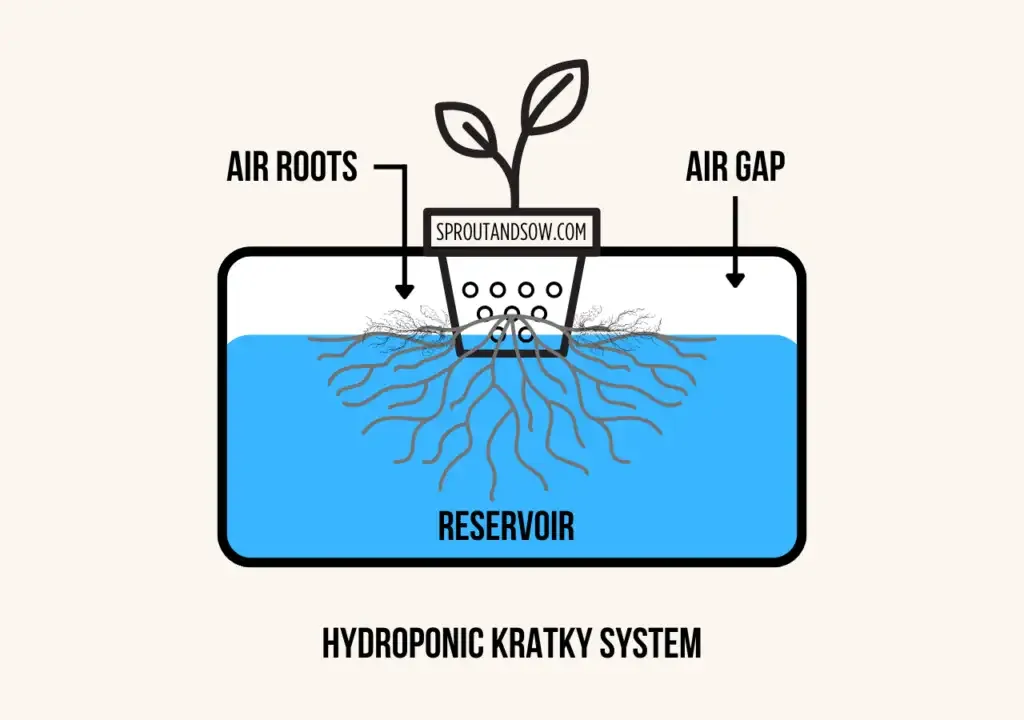
- Air Gap Function: An expanding air space between the receding water level and the net pot supplies oxygen to roots.
- Budget Hardware: Assemble a functional system using opaque plastic totes, buckets, or glass jars.
- Best Crops: Grow leafy greens like lettuce, spinach, and bok choy with high reliability.
- Assembly Sequence: Fill the reservoir with balanced nutrient solution, seat the seedling net cup, and position under lights.
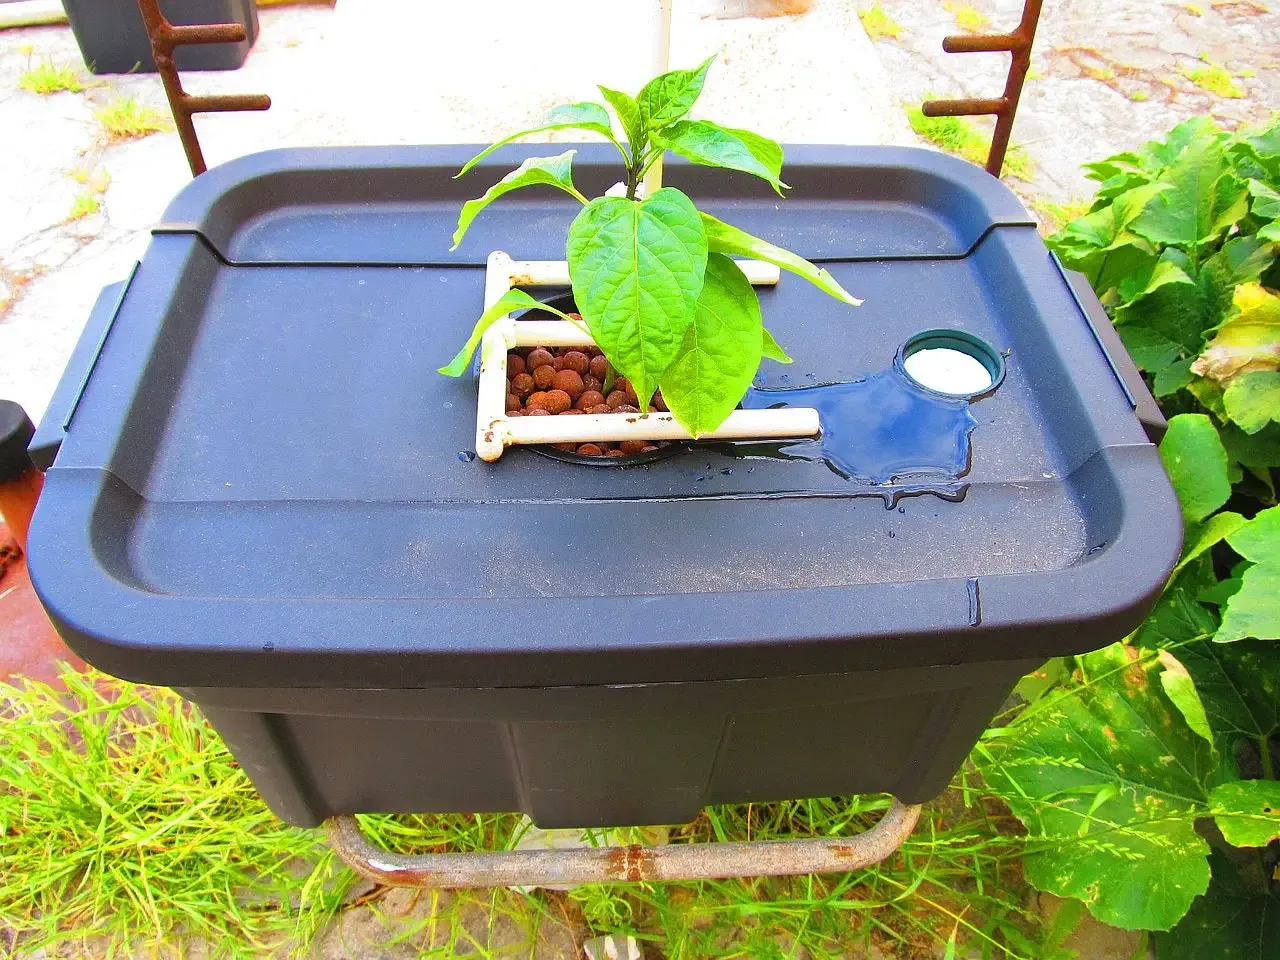
The Kratky method is the simplest, lowest-cost introduction to hydroponics. It requires no electrical pumps, plumbing lines, or mechanical timers. A standard plastic tote, net pots, mineral nutrients, and seeds are sufficient to produce your first harvest of fresh greens.
The Kratky Method: Mechanics and Advantages
1. How the Kratky Method Works
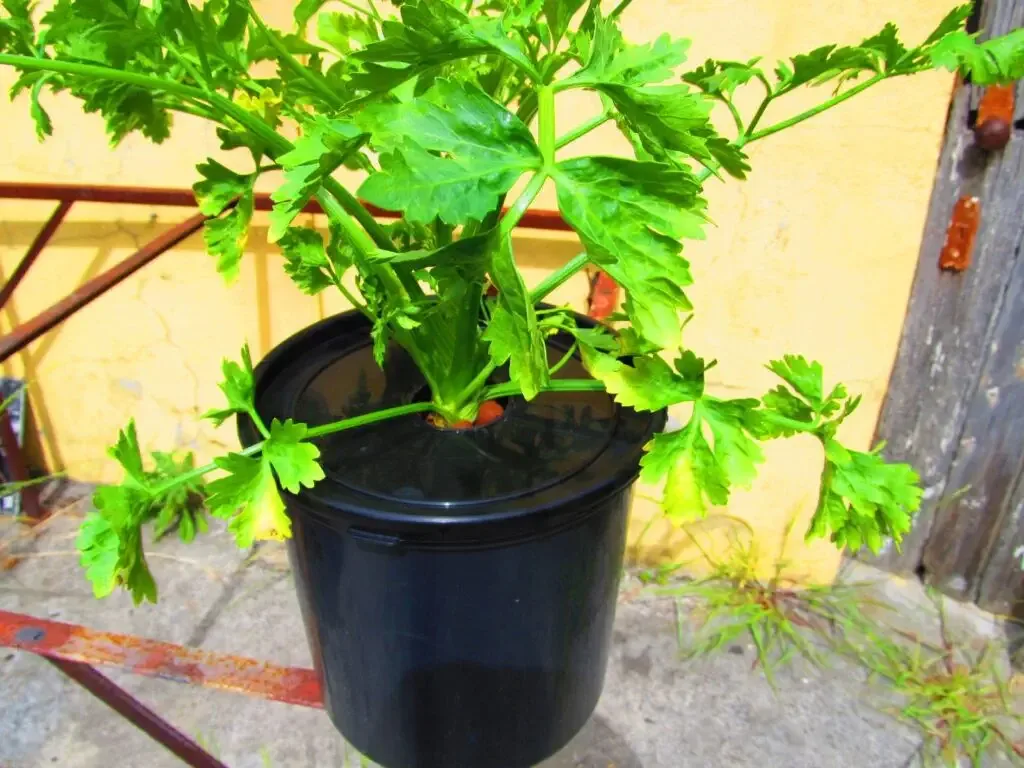
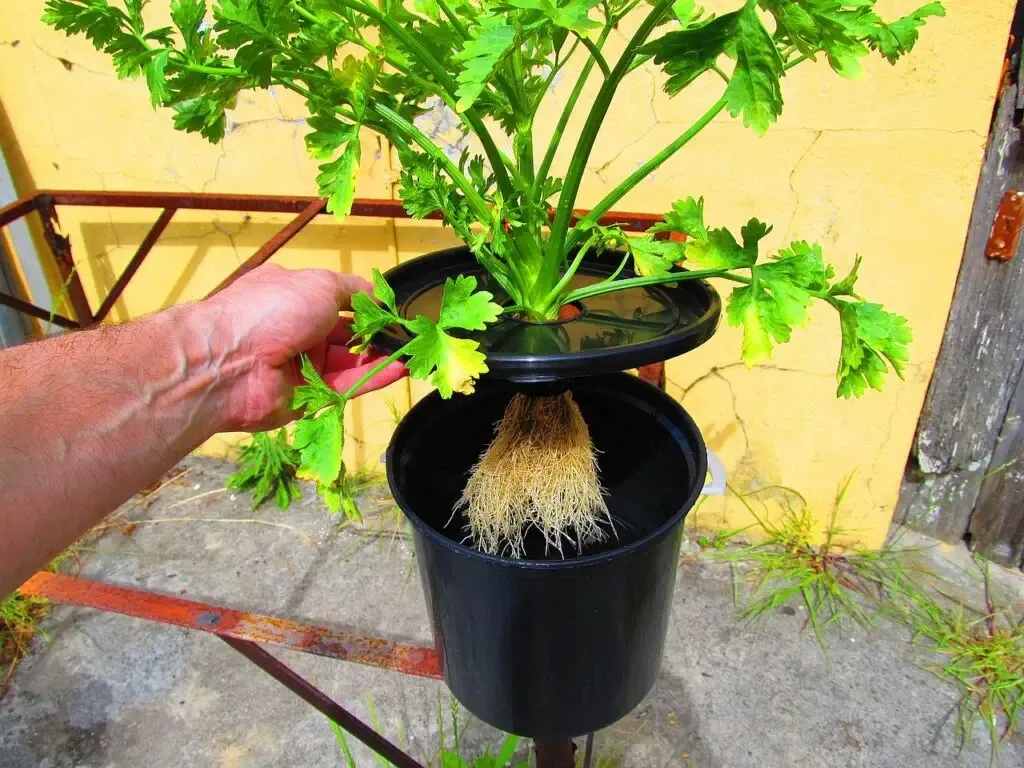
Developed by Dr. Bernard Kratky at the University of Hawaii, this passive method suspends plants in net pots above a sealed reservoir of nutrient solution. As plants transpire water, the liquid level drops, creating an expanding air gap. Lower roots draw moisture and dissolved salts from the reservoir base, while upper adventitious roots absorb atmospheric oxygen.
| Feature | Kratky Method | Deep Water Culture (DWC) |
|---|---|---|
| Air Pump Required? | No (Passive) | Yes (Active) |
| Electricity Needed? | No | Yes |
| Maintenance | Low (Inspect level and pH) | Moderate (Inspect pump, stones, and lines) |
| Best For | Leafy greens, culinary herbs | Large fruiting plants, high oxygen demand |
2. Advantages for New Growers
- Low Capital Cost: Requires only a dark container, net pots, inert media, and basic fertilizer salts.
- Zero Mechanical Failure Points: Operating without air or water pumps prevents root die-off from electrical outages.
- Minimal Intervention: Leafy greens mature from transplant to harvest on a single reservoir charge without requiring mid-cycle refills.
For a complete comparison of system types and basic plant biology, review our complete guide to hydroponics for beginners.
Setting Up Your First Kratky System
You can assemble an operational Kratky reservoir using standard hand tools and household storage bins.
Required Materials and Hardware
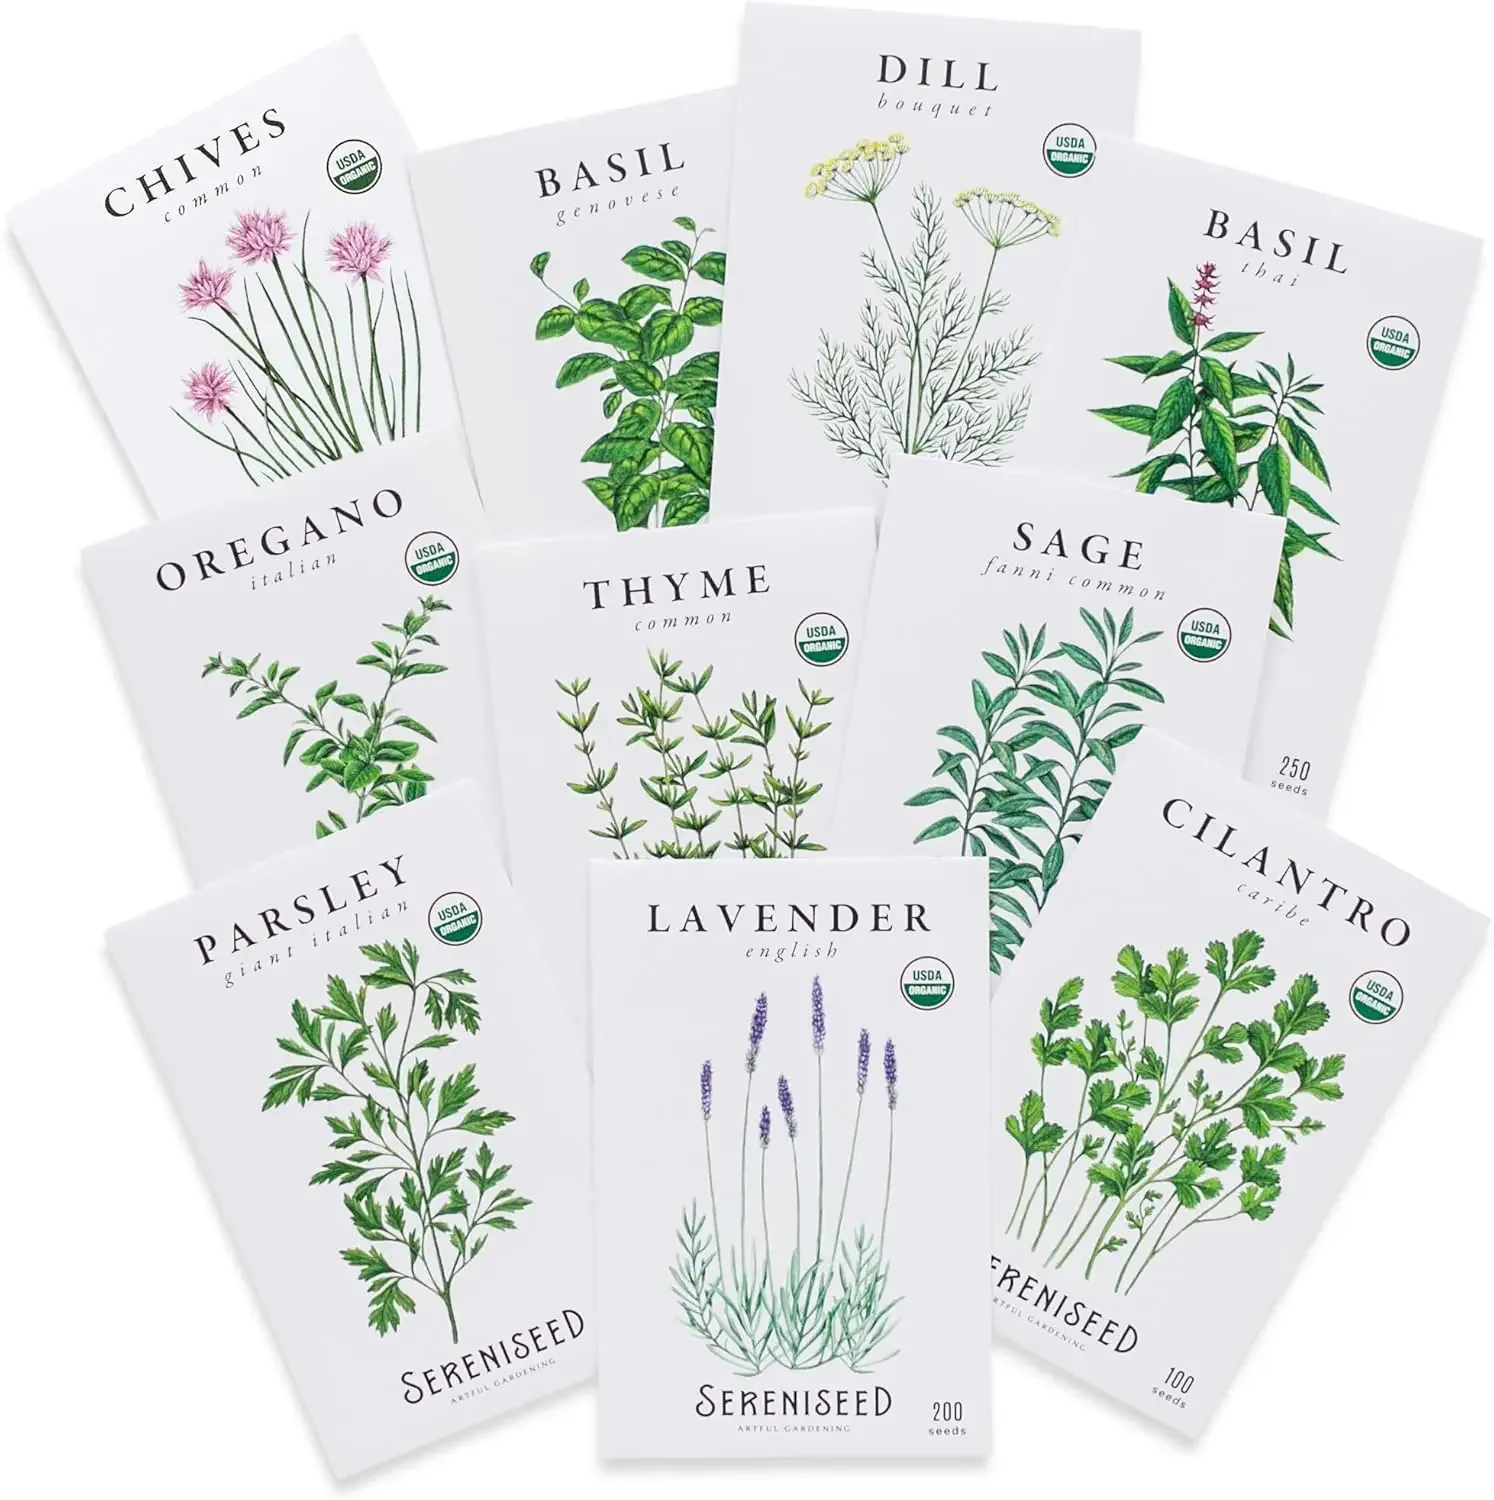
10-Pack Certified Organic Herb Seeds
Basil, cilantro, oregano, thyme, parsley, lavender, chives, sage, and dill seeds for indoor and outdoor cultivation.
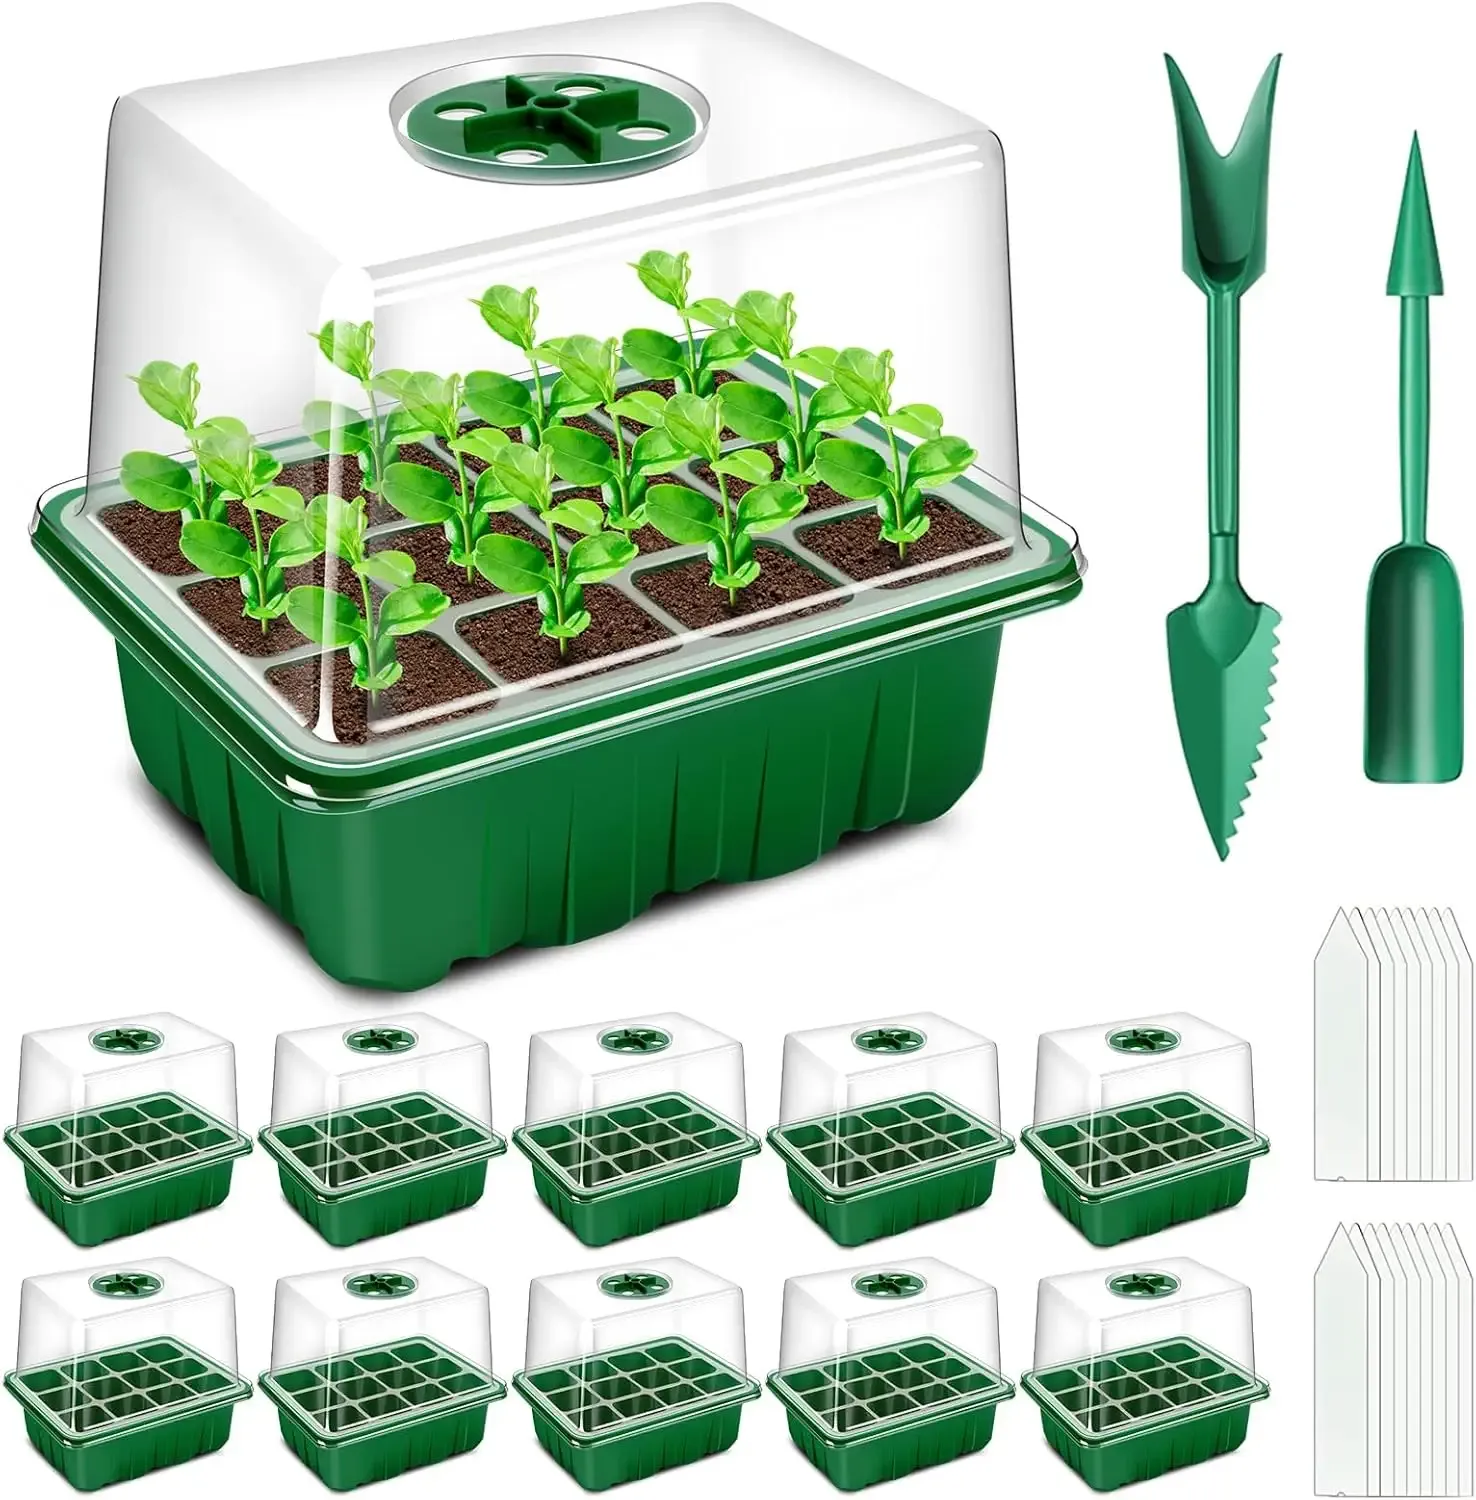
Seed Starter Trays
10-pack, 120-cell seed starting kit with clear humidity domes and drainage trays for controlled germination.
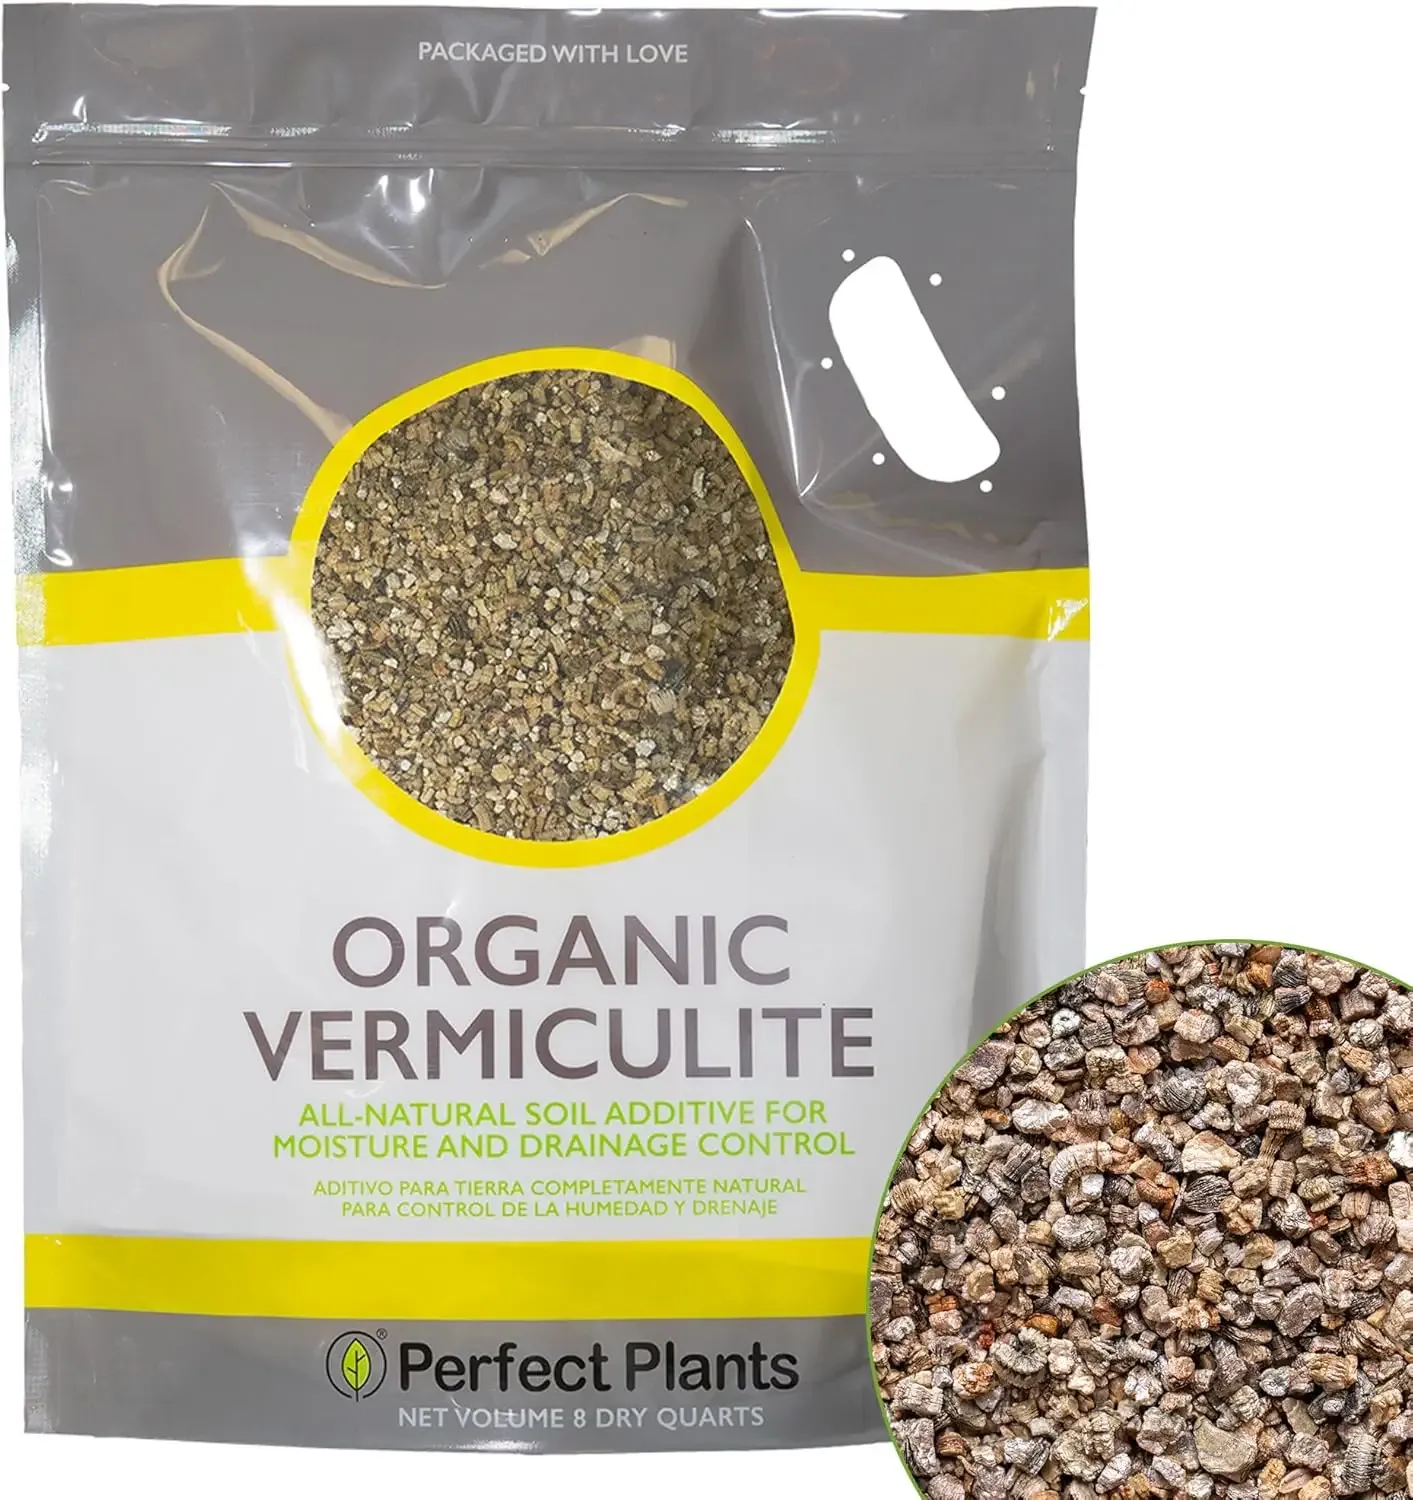
Organic Vermiculite
Horticultural vermiculite amendment for seed starting and moisture retention in hydroponic nursery trays.
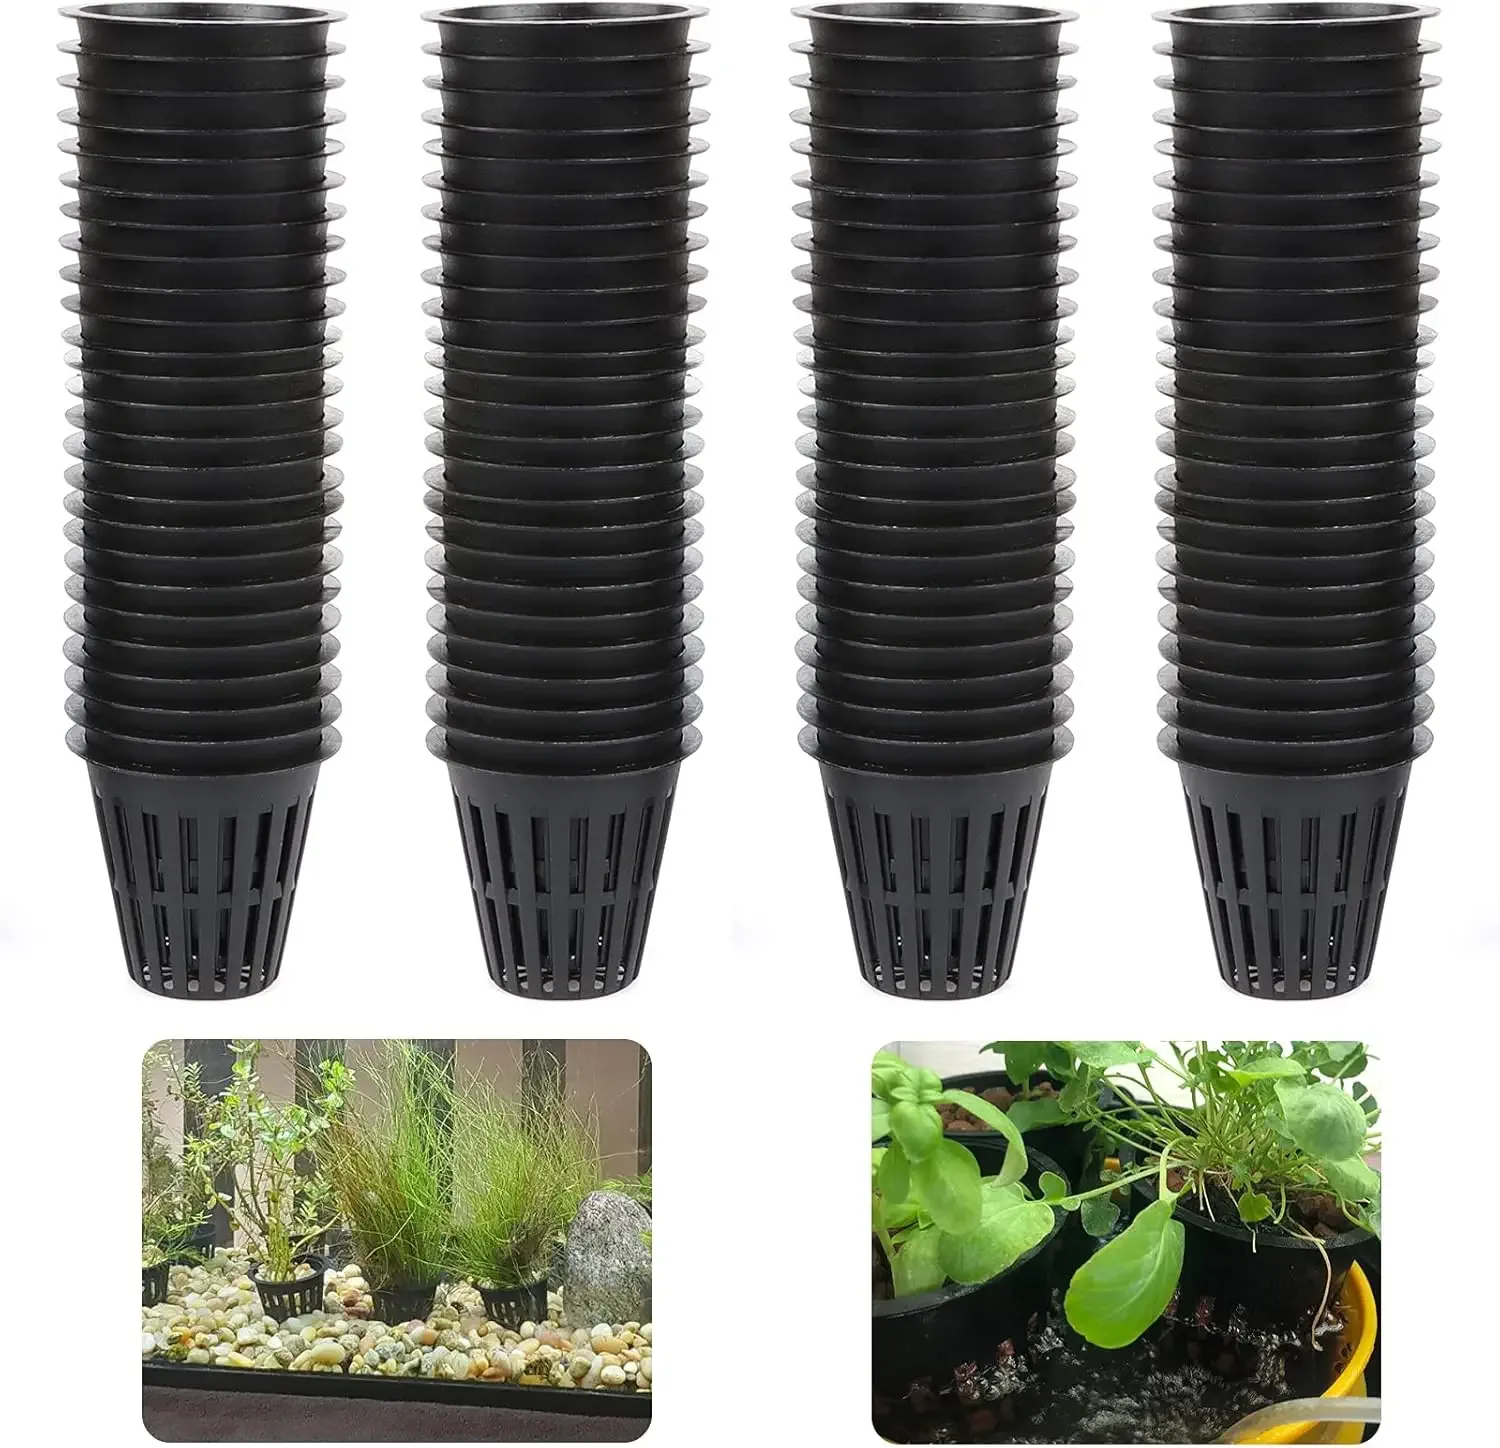
2 Inch Garden Slotted Mesh Net Cups
Durable 2-inch net pots made from reusable UV-resistant plastic. Slotted sidewalls allow lateral root egress into the reservoir.
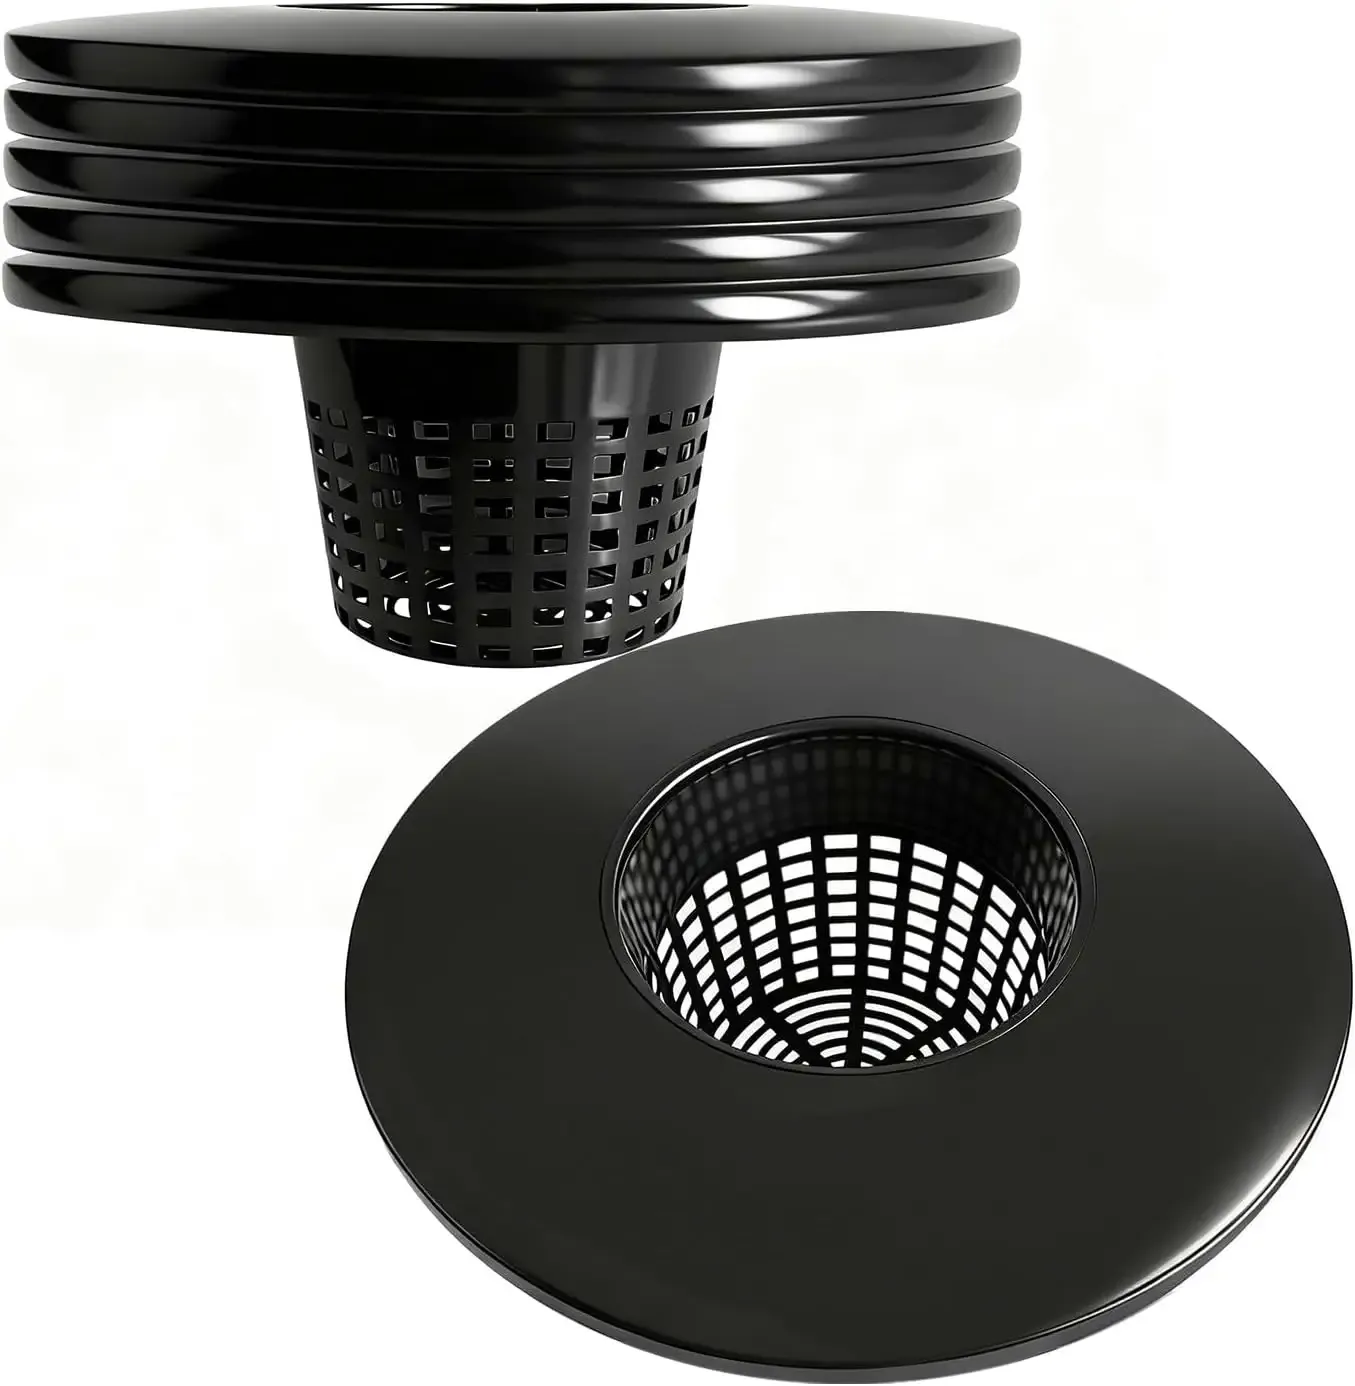
6 Inch Net Pots with Wide Lids
5-pack of 6-inch net pot bucket lids fitting standard 3.5-gallon and 5-gallon buckets for larger crops.
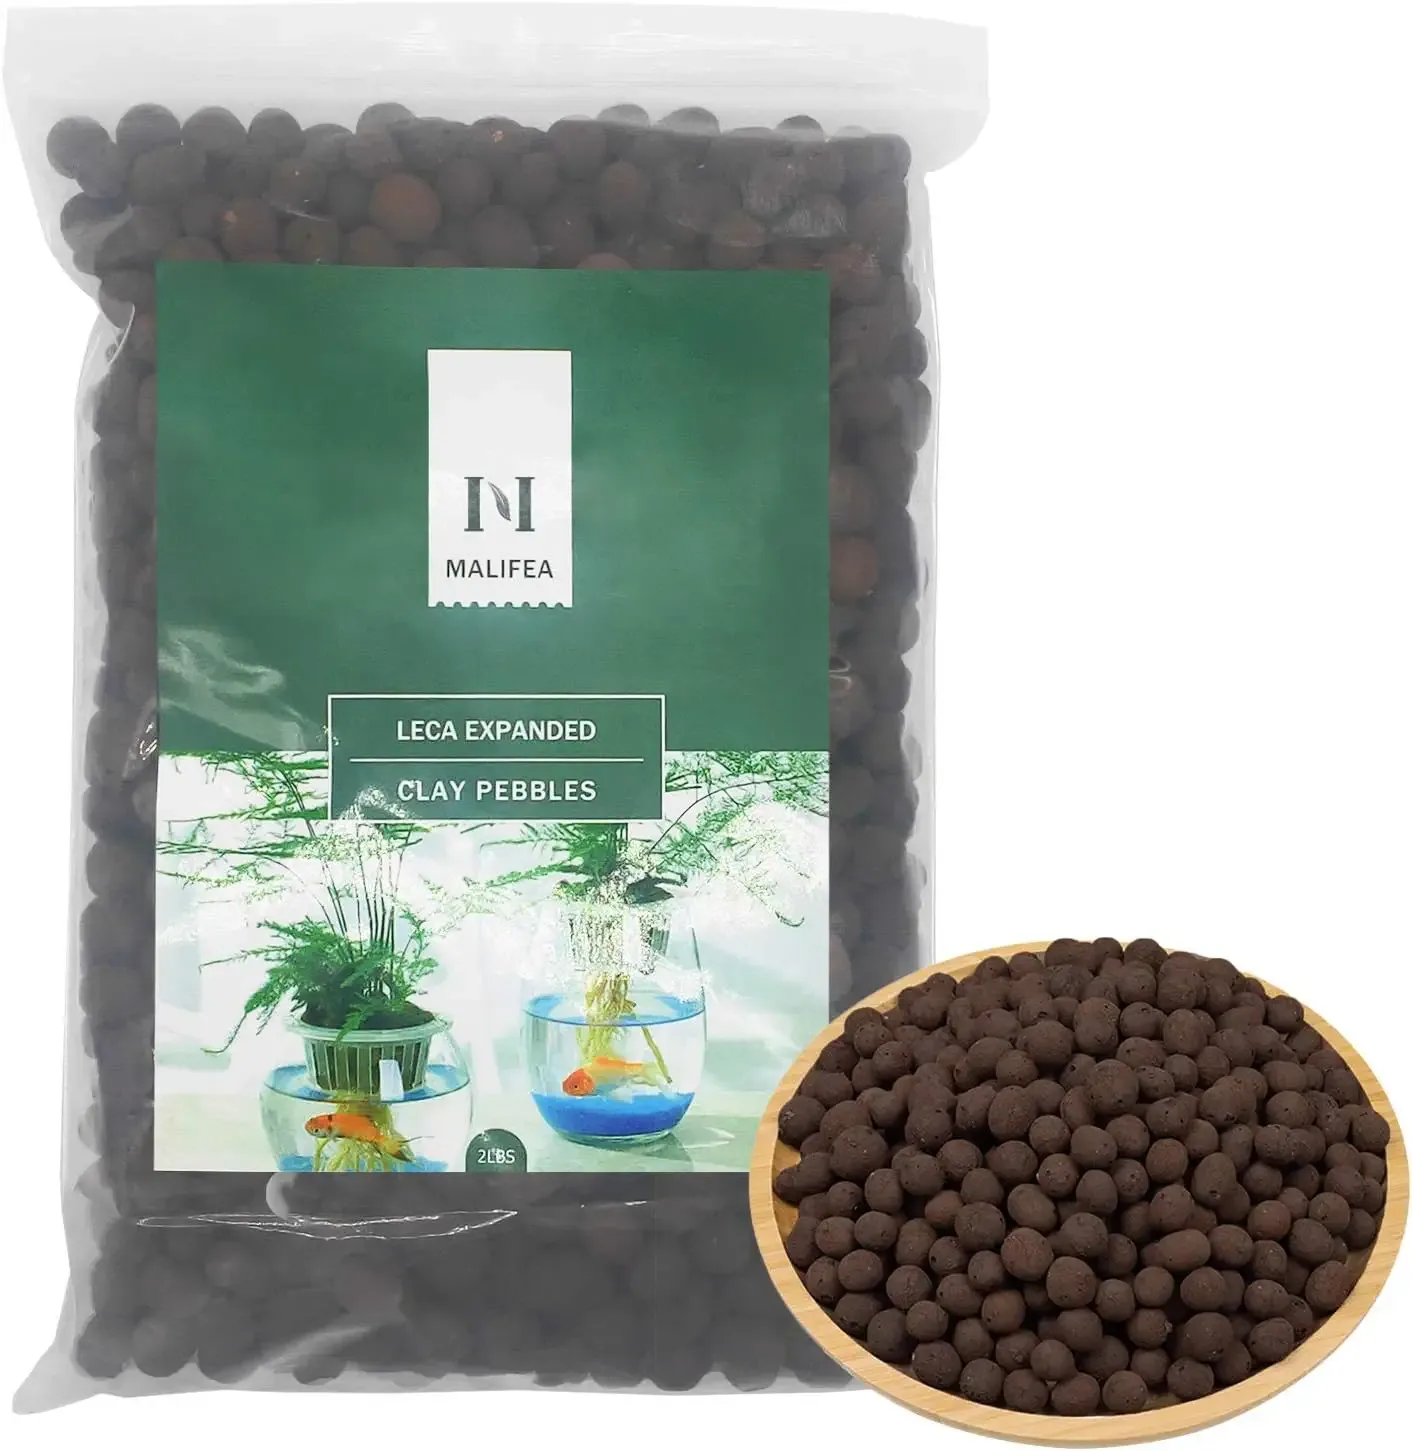
Leca Clay Pellets
Kiln-fired expanded clay pebbles providing sterile, pH-neutral physical support for root crowns.
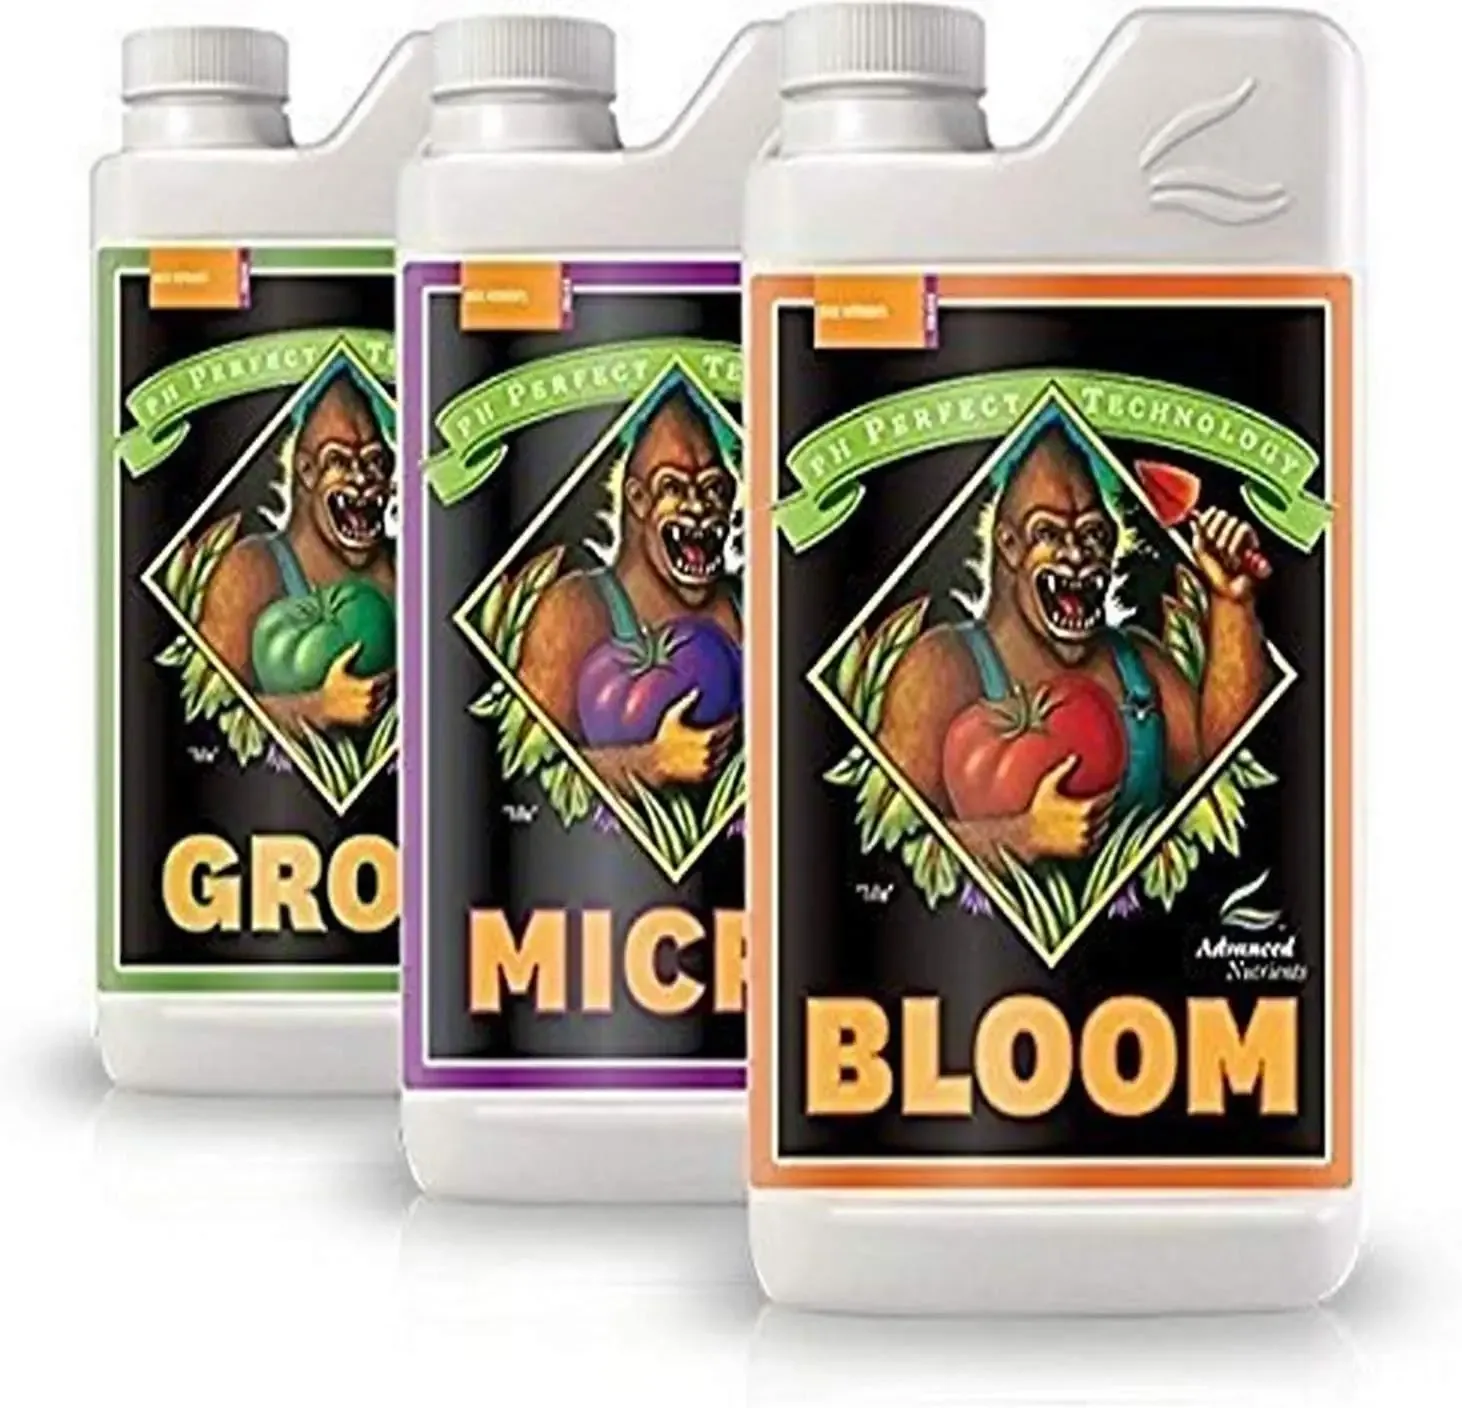
Advanced Nutrients
Three-part Bloom, Micro, and Grow liquid fertilizer concentrate for complete vegetative and flowering nutrition.
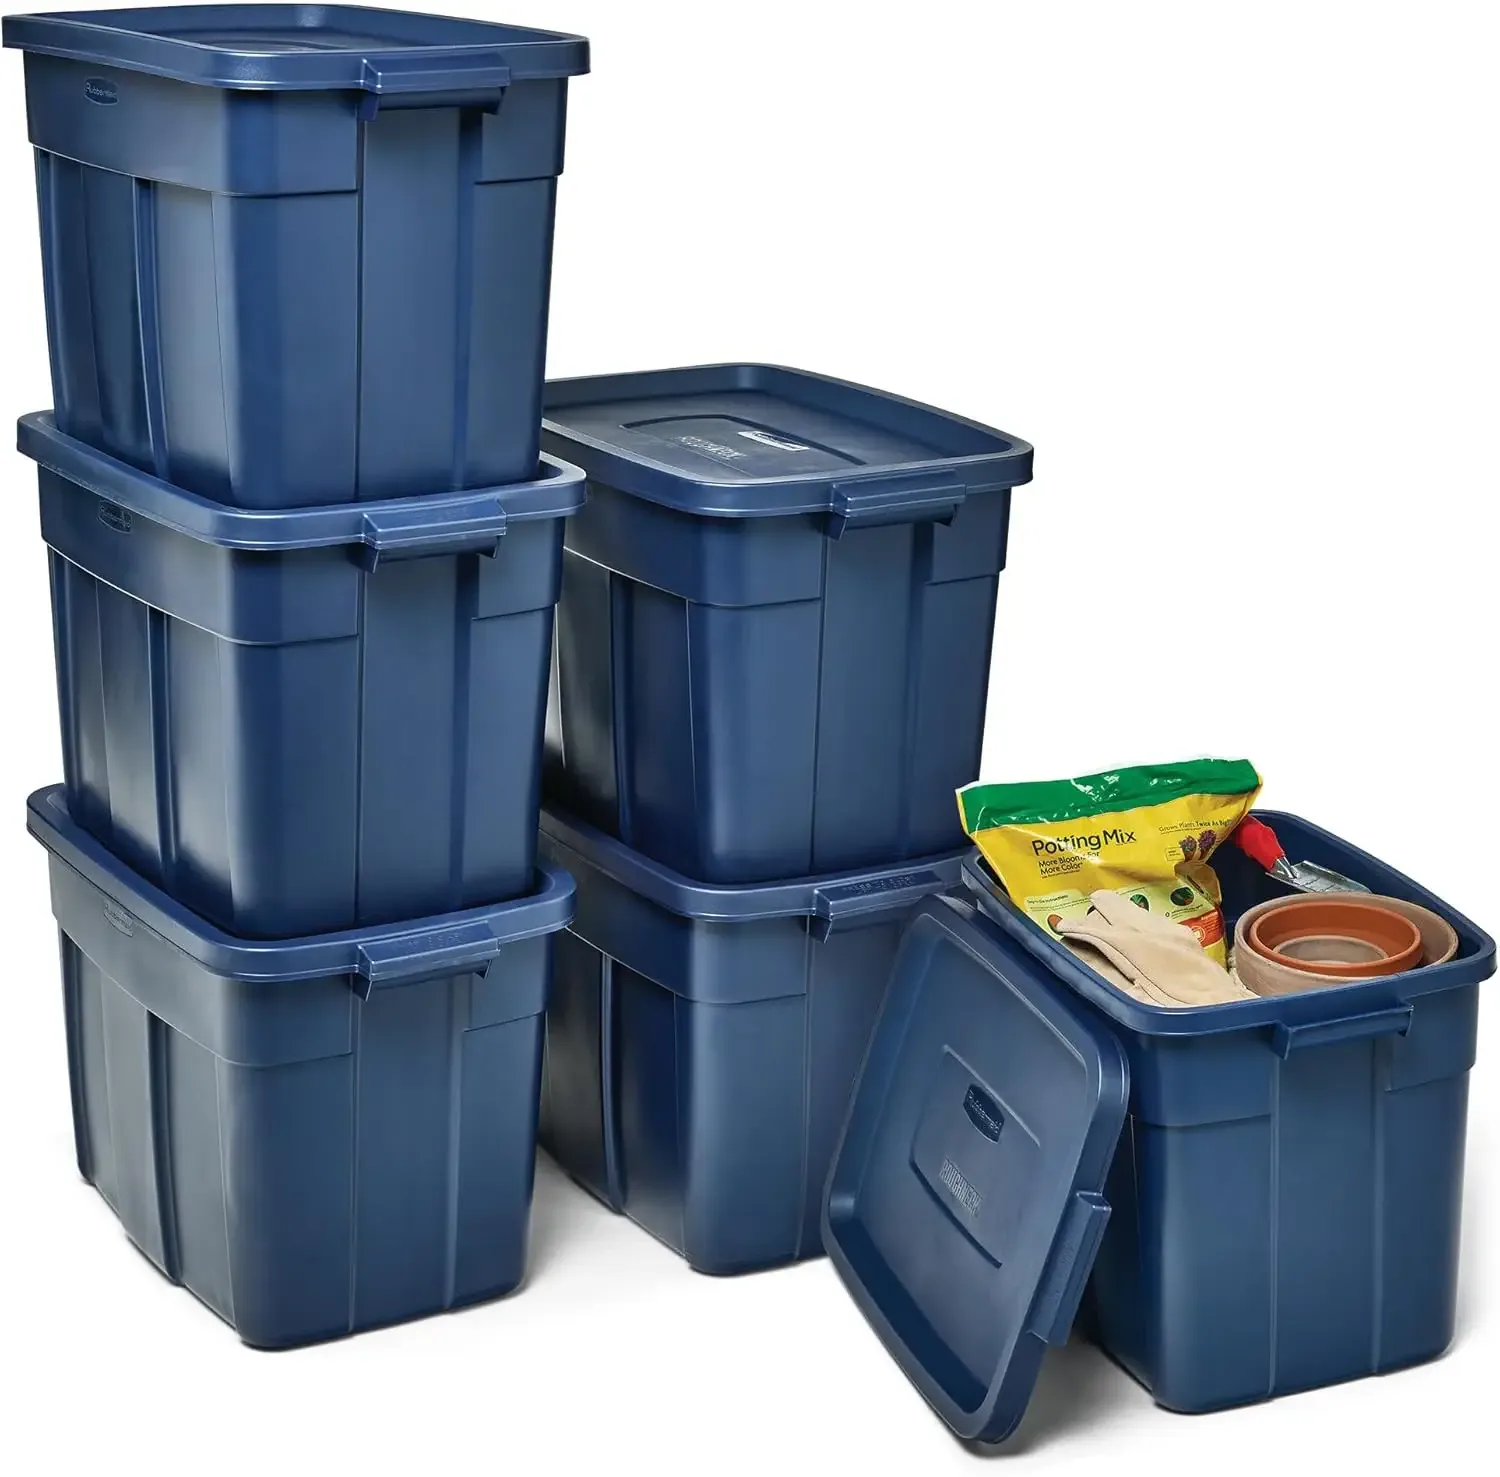
18 Gal Roughneck Tote
Heavy-duty opaque polyethylene container providing light-blocking protection against algae blooms.
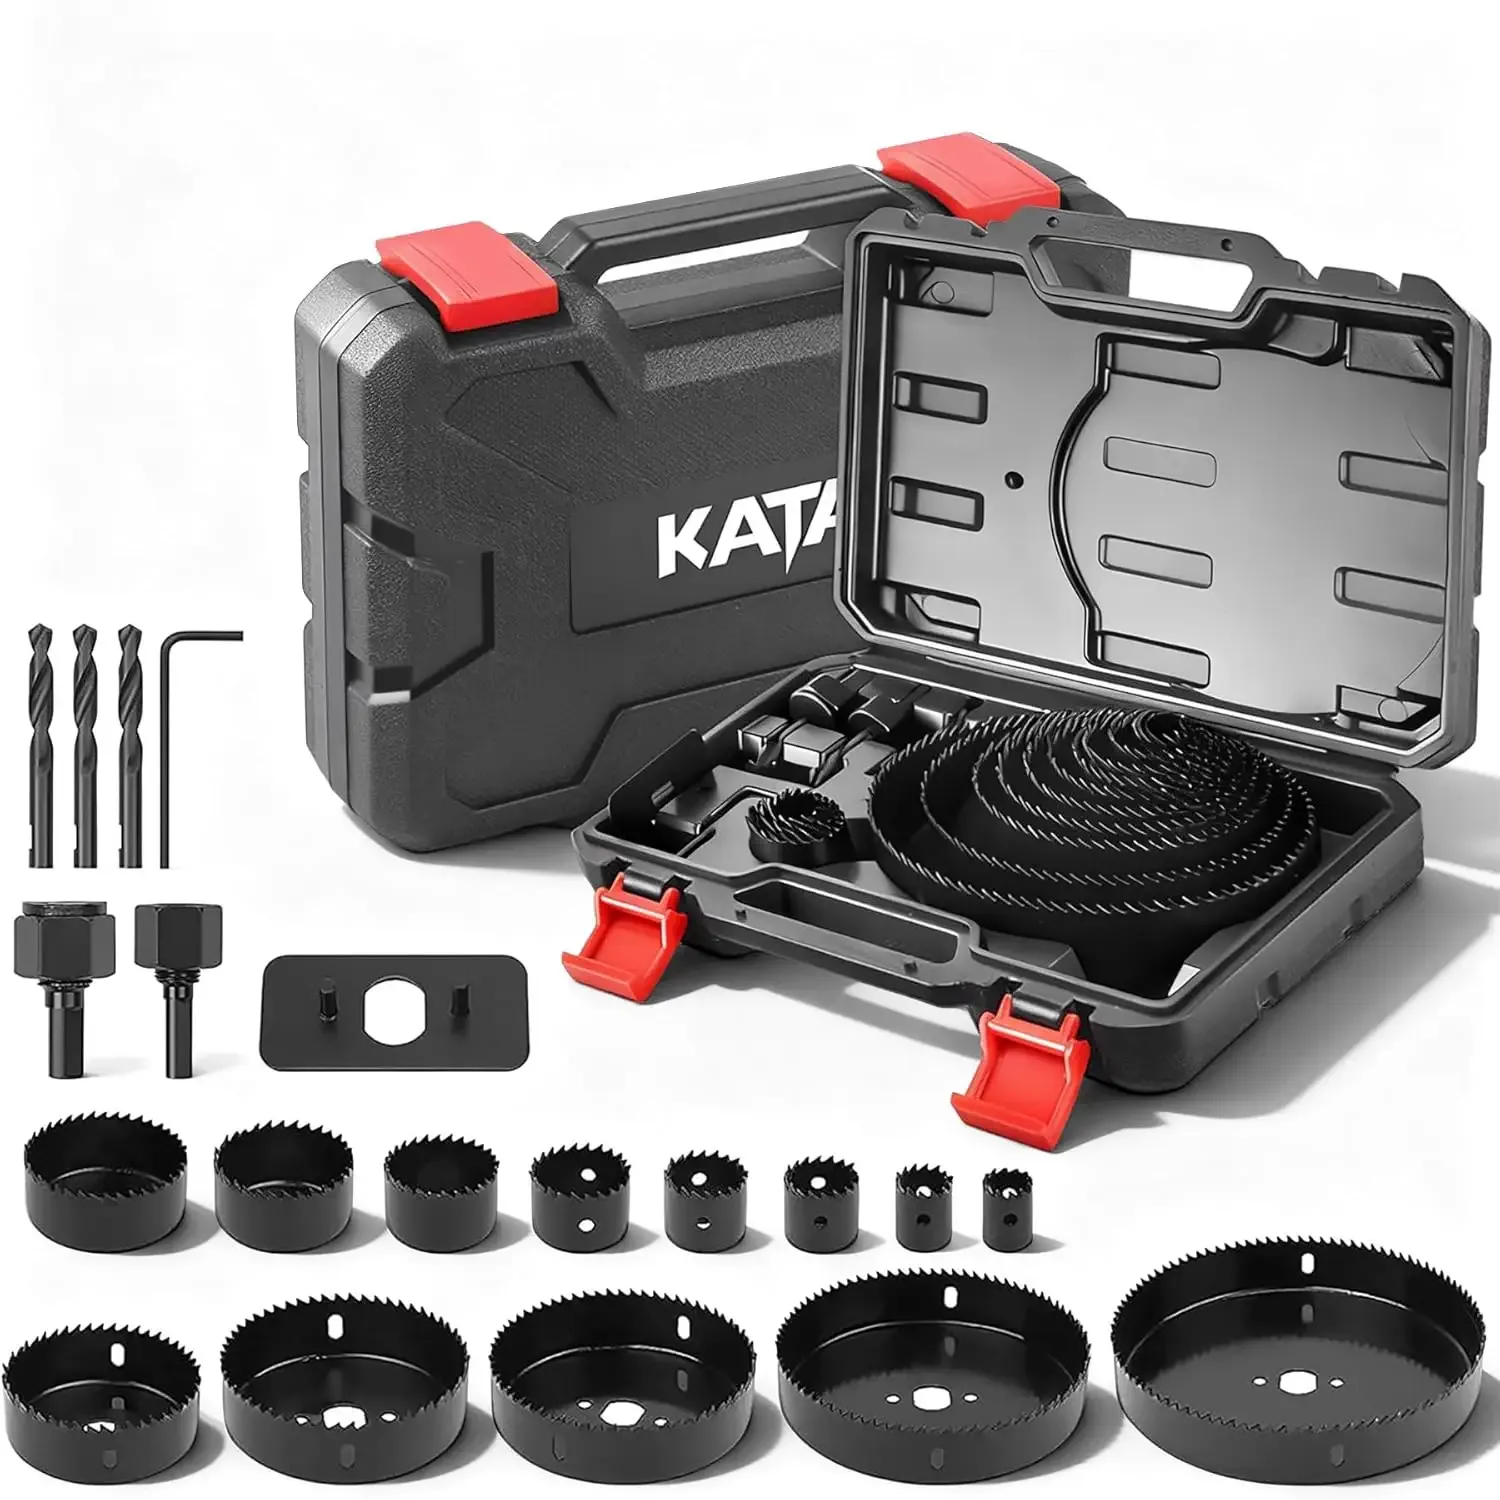
Hole Saw Kit
Multi-size carbon steel hole saw set for cutting clean net pot openings in plastic bucket lids and totes.
Indoor Hydroponic Grow KitView on Amazon: A countertop pre-fabricated option for growers who prefer an all-in-one kit rather than building a custom tote reservoir. Requires seeds and starter media.
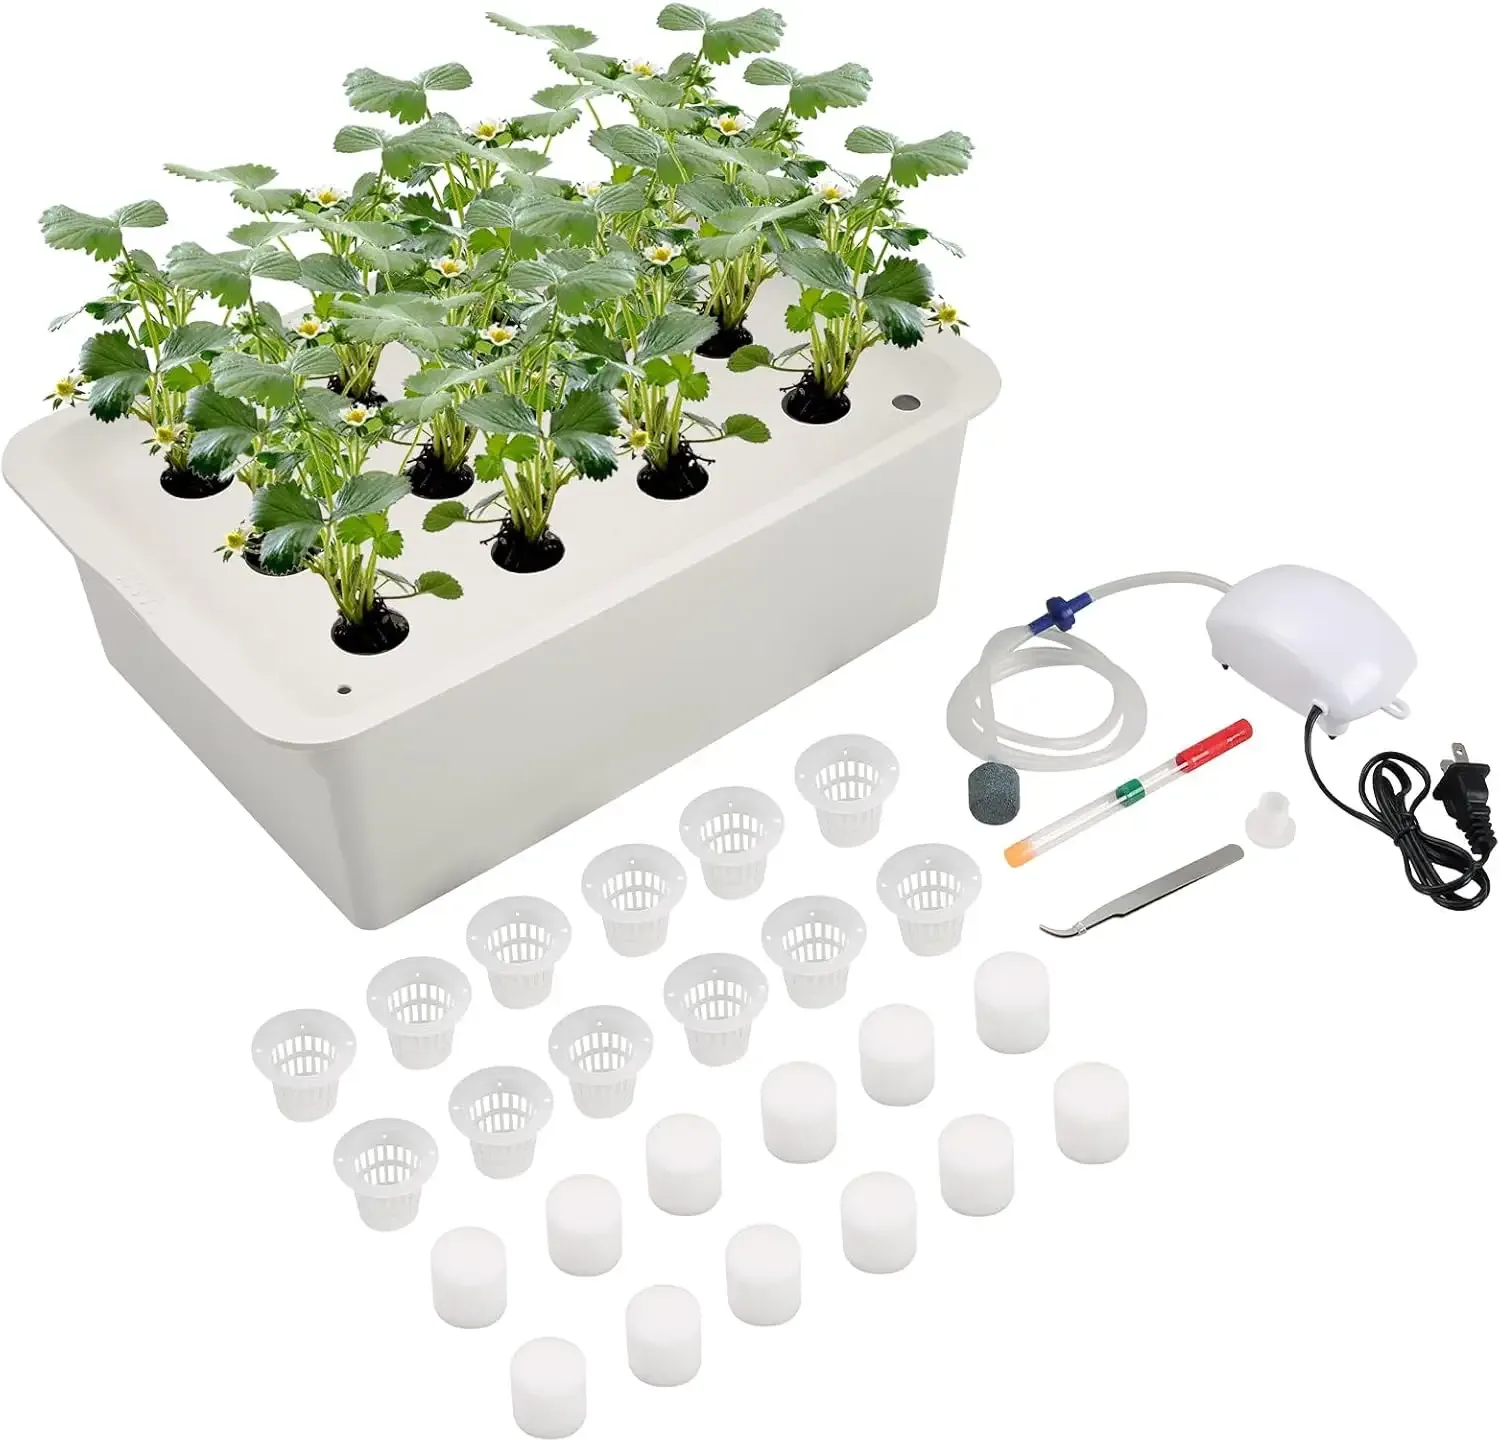
Indoor Herb Garden Kit
Hydroponic countertop box with integrated circulation, 12 pod openings, and full-spectrum LED lighting.
Step-by-Step Assembly
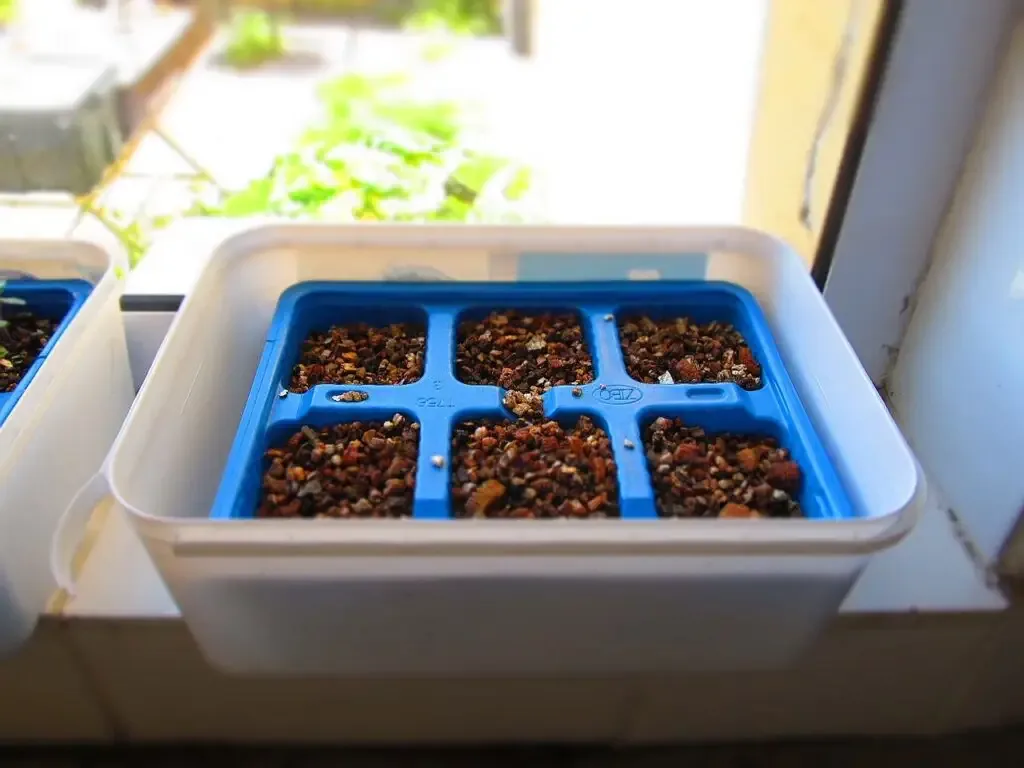
1. Germinate Seeds in Nursery Trays
- Fill each tray cell with vermiculite, leaving 1 cm of space below the rim. Vermiculite retains moisture while allowing air exchange.
- Sow two to three seeds per cell, covering them lightly with vermiculite.
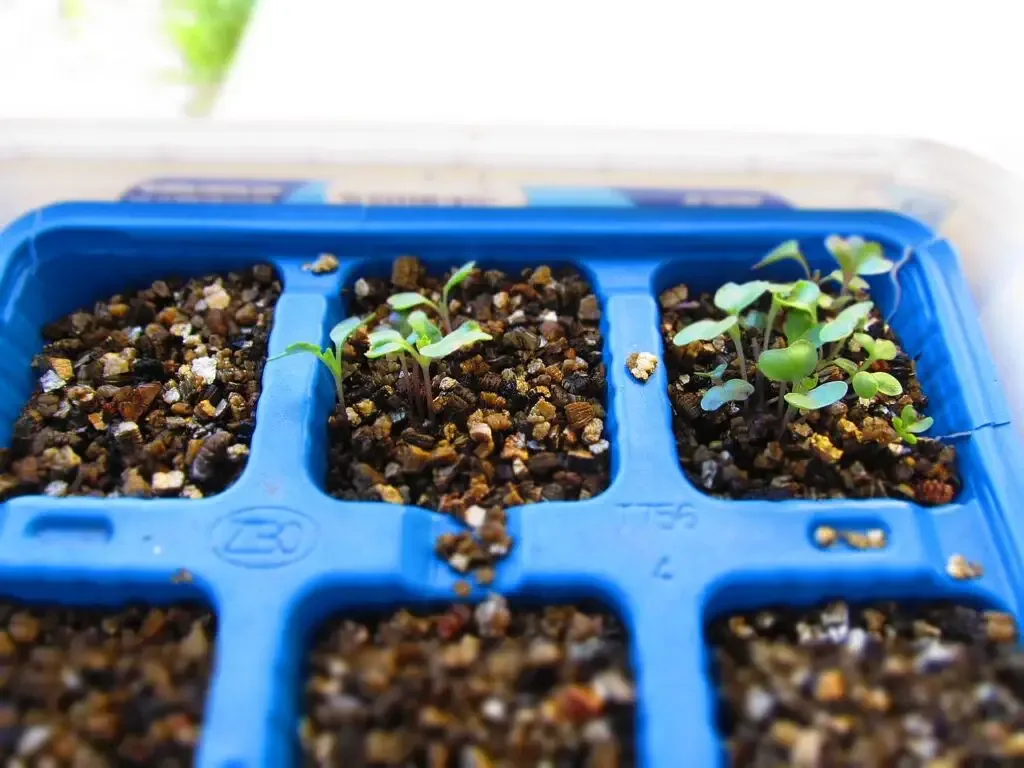
- Mist the surface with a spray bottle using plain, dechlorinated tap water. Do not add fertilizer during germination; unrooted seeds rely on internal cotyledon reserves.
2. Supply Light and Moderate Warmth
- Place the germination tray under full-spectrum LED lights or near an unshaded south-facing window.
- Maintain substrate temperatures between 18°C and 22°C (65°F–72°F). Most salad greens emerge within 3 to 7 days.
3. Maintain Bottom Moisture
- Pour 1 cm of plain water into the lower leak-proof catch tray, allowing vermiculite to draw water upward through capillary action.
- Inspect moisture levels every 48 hours to ensure plugs do not dry out.
4. Transplant Seedlings to Net Cups
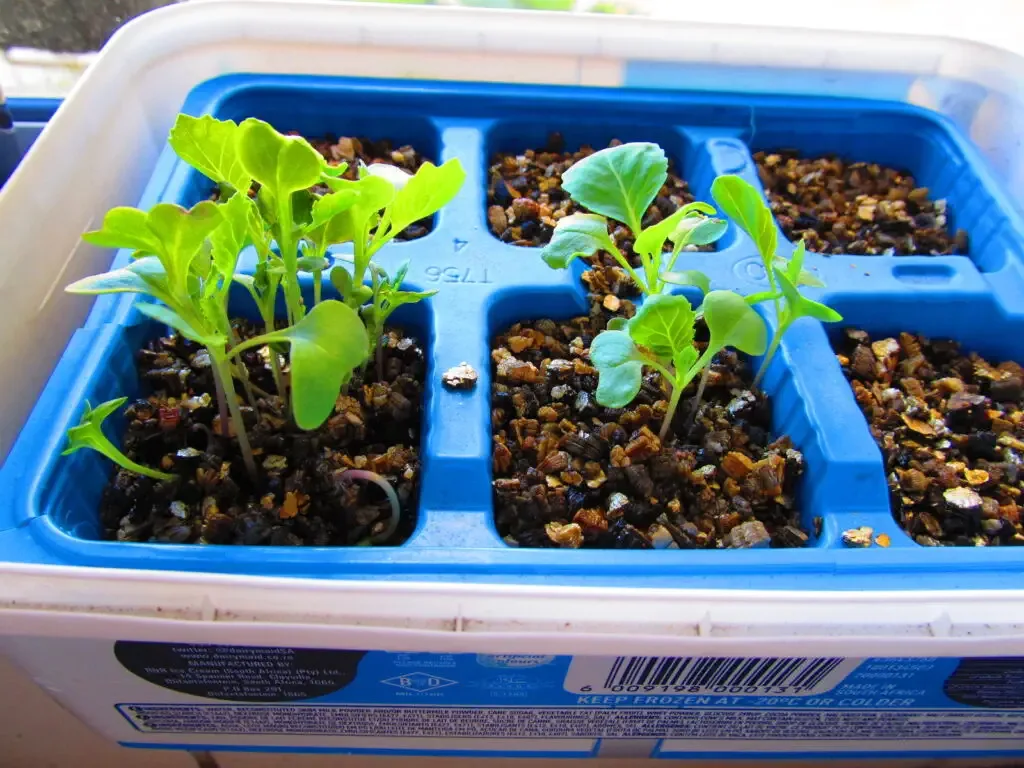
- Once seedlings develop their first set of true leaves and measure 5 to 7 cm tall, transplant them into net pots.
- Rinse clay pebbles thoroughly to remove silt. Seat the root plug in the net cup and pack clay pebbles around the stem base to stabilize the plant and exclude light.
- Mix a balanced nutrient solution in the reservoir. Adjust pH between 5.5 and 6.5. Seat the net cup so the bottom 5 mm touches the solution.
5. Vegetative Growth and Air Gap Management
- As the plant consumes water and transpiring salts, the fluid level recedes.
- The developing air space exposes upper roots to atmospheric oxygen. Do not refill the reservoir to the top; drowning the air root zone causes rapid suffocation and root rot.
- If topping off a reservoir for extended crops, add nutrient solution only up to one-third or one-half of the container depth.
Review our guide on common hydroponic mistakes beginners make and how to avoid them to prevent salt toxicity and light leaks.
Rules for Kratky Maintenance
- Select Fast-Cycling Varieties: Looseleaf lettuces (Butterhead, Black-Seeded Simpson) and basil mature before reservoirs run dry.
- Maintain Chemical pH Balance: Check pH weekly. Keep the range between 5.5 and 6.5 to maintain nutrient bioavailability.
- Avoid Over-Fertilization: High electrical conductivity causes marginal leaf necrosis (tip burn). Start young plants at half the label recommendation (0.8–1.0 mS/cm).
Consult our Hydroponic EC and pH Database for target conductivity ratings across 100 indoor crops.
Conclusion
The Kratky method strips away mechanical complexity, relying entirely on plant physiology and gravity. Assemble an opaque tote, balance your nutrient solution to pH 6.0, and seat your seedlings. The system handles moisture and oxygen delivery passively until harvest.
Editor’s Note: Parts of this guide were structured and optimized with the assistance of AI, then thoroughly reviewed, edited and expanded with first-hand growing experience by our author Raymond to ensure practical, real-world accuracy.
Frequently Asked Questions
Do I need an air pump for the Kratky method?
No. The Kratky method is entirely passive. As plants absorb nutrient solution, the water level recedes, forming an air gap where upper adventitious roots absorb oxygen directly.
What crops grow best in a Kratky system?
Fast-growing crops with shallow roots, such as looseleaf lettuce, spinach, bok choy, and basil, perform best.
How long does a Kratky system last before harvest?
For quick greens like lettuce, a single reservoir filling supports the entire cycle from transplant to harvest in 4 to 6 weeks.
Can I top off a Kratky reservoir?
Yes, but avoid submerging upper air roots. Refill only the bottom third to half of the container to preserve root oxygenation.
Does the Kratky method work for anything besides lettuce?
Yes. Culinary herbs like basil and cilantro adapt well. Fruiting crops such as dwarf peppers or bush tomatoes can grow in Kratky setups, but require 5-gallon (19-liter) reservoirs and regular nutrient top-ups.
Our Amazon Storefront
Browse all our recommended tools & supplies
Everything we personally use and trust, hand-picked for gardeners like you.

I've been running DWC and Kratky systems for several years and write about what actually works, not textbook theory. Follow along for honest product reviews, practical guides and real grow results.