As an Amazon Associate, I earn from qualifying purchases. Some links in this article are affiliate links, if you buy through them I may earn a small commission at no extra cost to you.
Quick Summary
- Raised Beds Pros: Improve soil drainage, warm up earlier in spring and reduce weeding time.
- Material Options: Construct beds using untreated cedar, redwood, corrugated metal or composite boards.
- Soil Formula: Fill beds with a premium 50/50 mix of topsoil and organic compost.
- Spacing Efficiency: Use the Square Foot Gardening method to maximize yields in small beds.
- Watering Setup: Install drip irrigation lines or soaker hoses to deliver water directly to the soil.
Whether you are battling heavy clay soil or looking to reduce bending and weeding, building a raised bed gives you total control over your garden’s root zone from day one. This practical guide walks you through choosing rot-resistant materials, calculating soil depth, layering a high-yield soil mix and installing efficient drainage and irrigation systems so your crops thrive all season long.
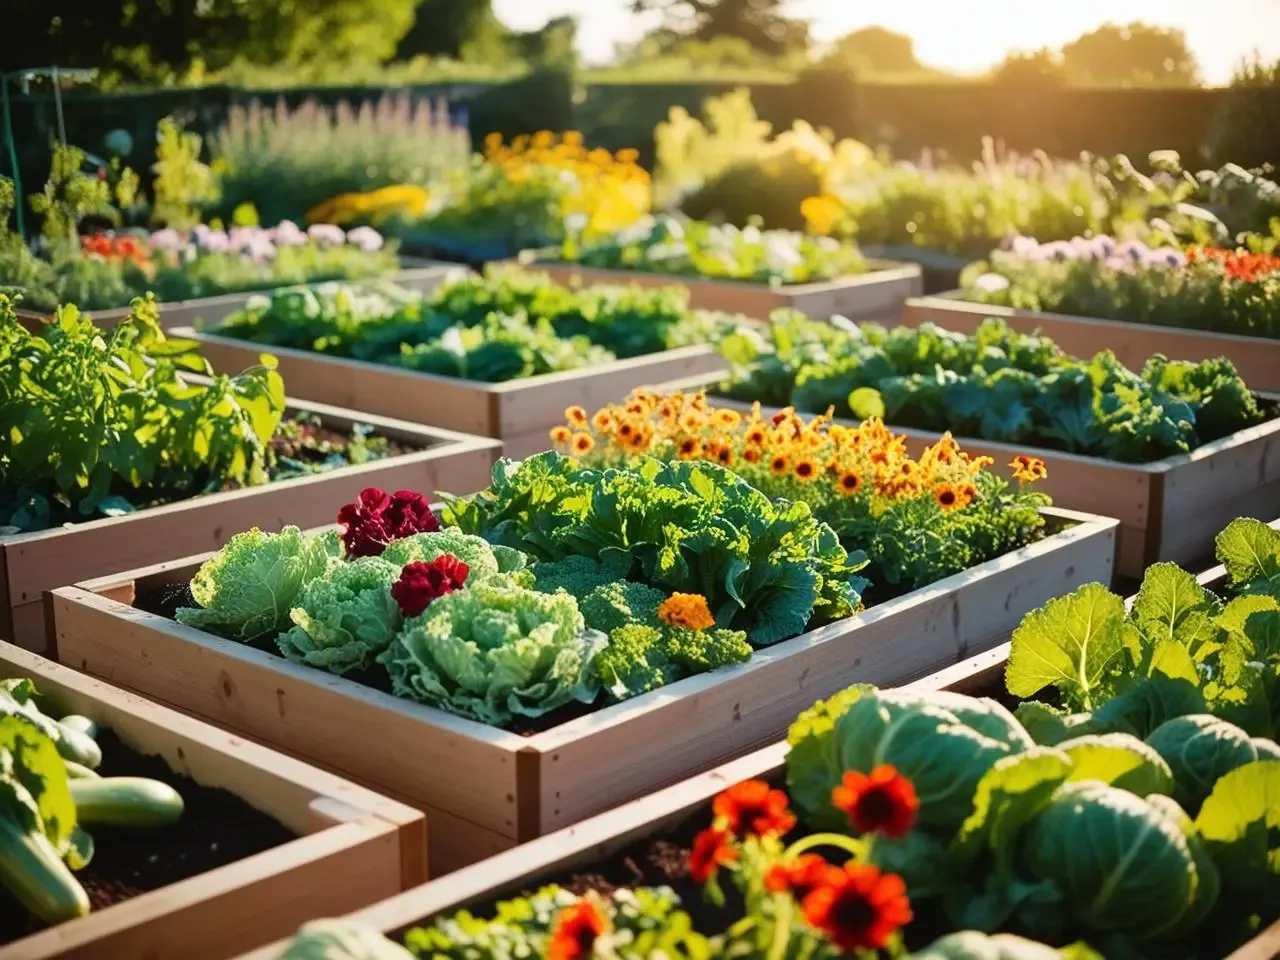
Why Choose Raised Beds?
Overcoming Poor Soil Conditions
Raised beds are particularly useful in areas with heavy clay, sandy soil or where the existing ground is unsuitable for gardening. By constructing raised beds, you control the exact soil composition right from the start, providing the ideal friable environment for tender roots to expand without struggling against dense rock or hardpan.
Improved Drainage
Raised beds offer superior drainage compared to traditional in-ground gardens, preventing waterlogging and root rot during heavy spring rains. You can further tailor drainage by incorporating materials like coarse sand, perlite or fine gravel into your base and soil mix, ensuring that excess moisture never accumulates around plant roots.
Easier Soil Management
With contained beds, it is much simpler to balance soil pH, manage organic matter and tailor growing conditions to specific crops. For example, you can easily increase acidity in one bed for blueberries by working in elemental sulfur, while keeping an adjacent bed slightly alkaline for brassicas or creating a deep, loose sandy loam specifically for root crops like carrots and sweet potatoes.
Reduced Weed Pressure
Raised beds drastically reduce weed competition by creating a clean physical barrier above the surrounding ground. Installing a double layer of cardboard or heavy-duty landscape fabric at the very bottom of the bed adds an effective initial shield against aggressive perennial weeds and grass creeping up from below.
Natural Pest Deterrence
The elevated stature of raised beds deters many ground-dwelling pests like rabbits and small rodents. Building a frame at least two feet high puts your greens out of easy reach for rabbits, while attaching modular wire fencing or planting aromatic pest-repelling companion herbs around the perimeter further protects your harvest.
Ergonomic Accessibility
Raised beds significantly reduce the need for deep bending and kneeling, making routine planting, weeding and harvesting accessible for gardeners with back strain or mobility challenges. They provide a comfortable, ergonomic working height whether on a backyard lawn, deck or urban patio.
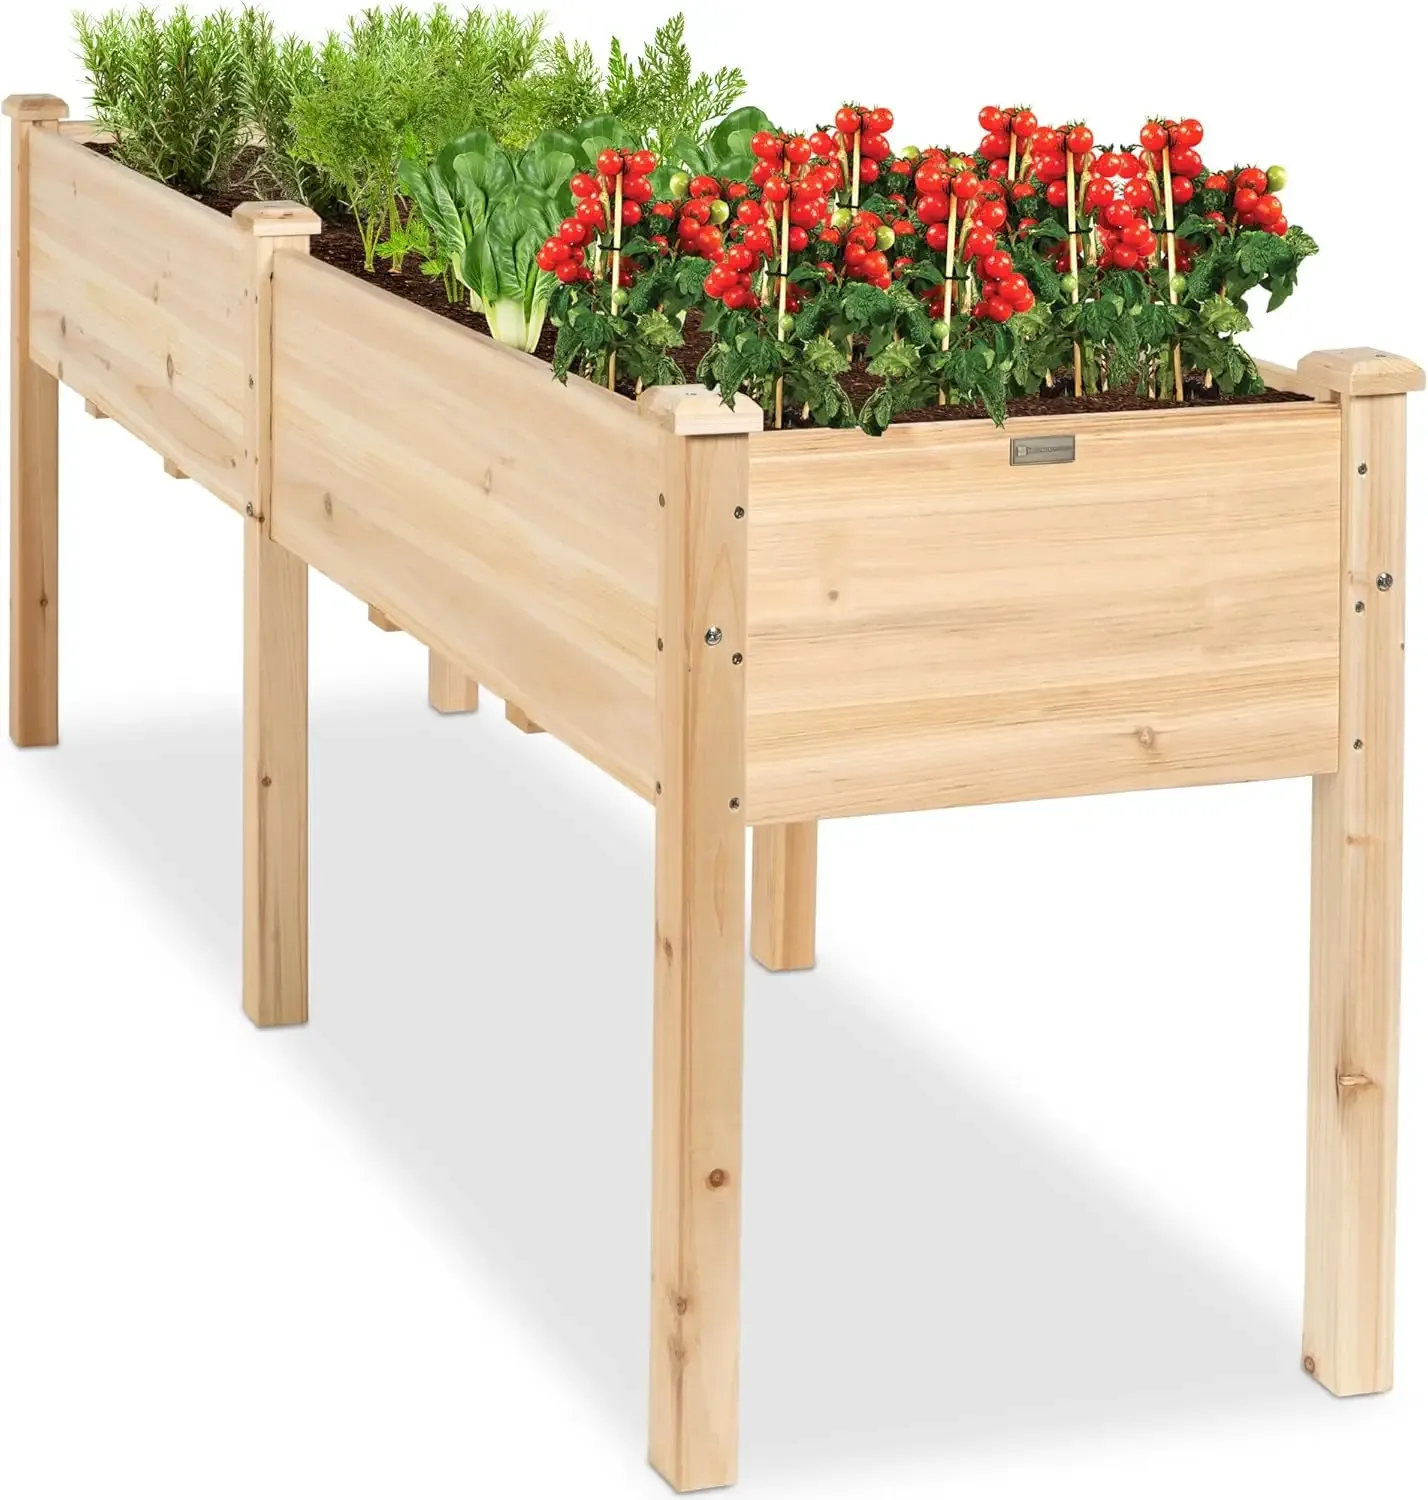
Raised Garden Bed, Elevated Wood Planter Box
- Generous Elevated Capacity: With 8.4 cubic feet of planting volume across a 6-foot length (72” x 23” x 30”), this elevated bed easily accommodates shallow-rooted crops like salad greens, herbs and bush beans without taking up ground space.
- Waist-High Ergonomics: Standing at 30 inches tall, it eliminates kneeling and heavy bending entirely, making it ideal for patio gardeners or anyone dealing with lower back strain.
- Natural Chinese Fir Construction: Built from naturally decay-resistant Chinese fir wood, it delivers classic rustic charm that won’t leach chemicals into your edible crops.
- Practical Trade-offs & Care: While the six pre-drilled drainage holes effectively prevent waterlogging, Chinese fir will weather to gray over time and benefit from an annual coat of raw linseed oil or non-toxic sealant to extend its lifespan beyond 4–5 seasons.
Planning Your Raised Bed Garden
Location and Sunlight
Select a spot that receives at least 6 to 8 hours of direct daily sunlight and offers good air circulation around the plants. Sunlight needs shift with your climate zone — what USDA zones actually measure is worth reading before you finalize placement. Positioning your beds close to your kitchen or back door makes daily watering and quick herb harvesting far more convenient and ensuring proximity to a reliable water source is essential for seamless irrigation.
Bed Dimensions and Layout
Common dimensions include 4’ x 8’ or 2.5’ x 7’ footprints. Keeping the width at 4 feet or less is critical so you can easily reach the center from either side without ever stepping on or compacting the soil. To calculate the volume of soil required, multiply the bed’s length, width and height in feet to get total cubic feet. If you’re mapping out the whole plot rather than just the beds, our guide to planning a small vegetable garden from scratch covers how to lay out the space around them.
Choosing the Right Materials
Selecting construction materials involves balancing durability, upfront cost, aesthetics and food safety. Here is how the primary options compare:
- Wood (Cedar, Redwood and Fir): Wood offers a natural, classic aesthetic and excellent thermal insulation for plant roots. Untreated cedar and redwood naturally resist rot and insects, lasting 7 to 10 years, while budget-friendly woods like pine or oak may degrade within 3 to 5 seasons. Always avoid pressure-treated lumber that contains harsh preservatives and consider applying a food-safe raw linseed oil to extend your bed’s lifespan.
- Metal (Galvanized Steel and Aluzinc): Metal beds provide a sleek, modern look and exceptional longevity, often lasting 20+ years without rotting, warping or rusting. They heat up quickly in the spring, allowing for earlier planting. When selecting metal, ensure it uses food-safe aluzinc coating or non-toxic powder finishes and avoid polyurethane paints. While they cost more upfront, pre-fabricated modular metal kits are highly durable and assemble quickly without specialized tools.
- Composite Boards: Made from a blend of recycled wood fibers and food-grade plastic, composite lumber resists splitting and rotting while insulating roots. It requires near-zero maintenance and retains its uniform color for decades.
- Recycled HDPE Plastic: Lightweight, eco-friendly and weather-resistant, food-grade HDPE beds are impervious to moisture and pests, making them a great low-maintenance choice.
- Stone and Brick: Natural stone or brick creates a permanent, heat-retentive, food-safe perimeter. While material and labor costs can be high and the beds cannot be easily moved once built, stone endures indefinitely through severe winter freezes.
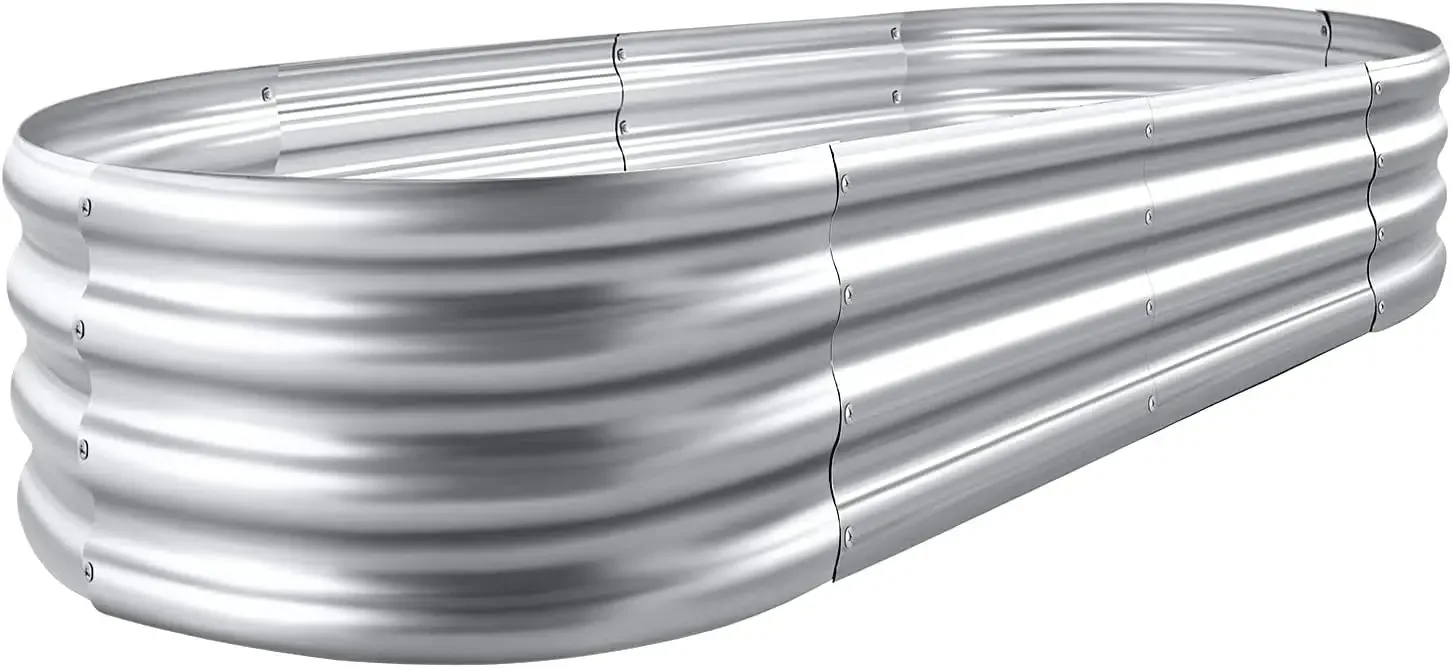
Galvanized Raised Garden Bed Kit and Planter
- Compact 4’ x 2’ Footprint: Offering 7.14 cubic feet of soil capacity with a 12-inch depth, this compact oval bed is ideal for side yards, patios or pairing in rows for a structured modular garden.
- Heavy-Duty Q195 Galvanized Steel: Constructed with double-layered anti-corrosion galvanized sheets (up to 1.56mm thick at reinforced stress points), it withstands harsh winter freezes and summer heat without bowing or rusting.
- Open-Base Soil Health: The bottomless design ensures unrestricted root penetration into subsoil and prevents water stagnation, allowing beneficial earthworms and microorganisms to migrate freely into your garden mix.
- Practical Trade-offs & Performance: Unlike wooden planters, this metal kit won’t warp, rot or harbor wood-boring pests, easily lasting 15 to 20 years. However, metal sides conduct heat rapidly in mid-summer, so edge-adjacent roots may dry out faster during heat waves, requiring consistent mulching along the perimeter.
Filling Your Raised Beds
Creating a fertile, well-draining root environment is the most critical factor in raised bed success. Rather than filling the entire frame with expensive bagged soil, layering organic materials saves money while building long-term soil structure.
Cross-Section Cutaway: 30" Hugelkultur Raised Bed
Proper Soil Horizon & Depth Guide
Ideal: Clean wheat straw, shredded leaves or arborist chips.
Benefit: Reduces moisture evaporation by up to 50% and blocks weed germination.
Ideal: 50% screened topsoil, 30% organic compost and 20% aeration blend.
Benefit: Friable, nutrient-dense structure where primary feeding roots thrive.
Ideal: Finished compost, aged cattle manure or worm castings.
Benefit: Prevents nitrogen tie-up from underlying wood and warms the root zone.
Ideal: Hardwood logs, thick branches, yard waste and autumn leaves.
Benefit: Saves up to 50% on bagged soil costs while acting as a long-term water sponge.
Ideal: Corrugated cardboard, thick newspaper or landscape fabric.
Benefit: Blocks underlying perennial weeds while allowing earthworms to enter.
Ideal: Crushed pea gravel, river rock or leveled bare native dirt.
Benefit: Prevents water pooling beneath the frame and ensures proper oxygen flow.
Step-by-Step Soil Layering Sequence
- Base and Drainage Layer: Start by leveling the native ground underneath your bed. If sitting on dense clay or prone to puddling, laying a 1/4 to 1/2 inch bed of fine gravel or crushed stone underneath facilitates drainage. If placing directly over grass, mow it down as short as possible before placing your frame.
- Weed and Root Barrier: Line the very bottom of the bed with a double layer of corrugated cardboard or thick newspaper. This suppresses grass and weeds from pushing up from below while breaking down over several months to invite earthworms and beneficial microorganisms into your bed. If placing your bed on a patio or concrete pad, use heavy-duty geotextile landscape fabric instead to prevent muddy water from staining the stone.
- Bulk Filler Layer (The Hugelkultur Method): For beds deeper than 18 inches, filling the bottom half with logs, thick branches, untreated wood chips and dry autumn leaves dramatically reduces bagged soil costs. Over time, this organic debris acts like a sponge, absorbing excess water and slowly releasing steady nutrients to deep plant roots as it decomposes.
- Nutrient and Compost Layer: Spread a 2 to 4 inch layer of fully decomposed, rich organic compost over your bulk filler. This transitional zone jump-starts microbial activity and prevents the nitrogen tie-up that can happen when raw wood breaks down directly next to tender plant roots.
- Premium Top Soil Mix Layer: Fill the top 6 to 12 inches, where your vegetables’ primary feeding roots live, with your high-quality growing medium.
The Ideal Soil Mix Formula
Never use straight native garden or topsoil from your yard to fill the top layer of your raised bed; it lacks proper aeration and will quickly compact into a dense, weed-prone brick. Instead, aim for a balanced, friable blend:
- 50% High-Quality Screened Topsoil: Provides essential mineral bulk, structure and trace elements without heavy clay.
- 30% Organic Compost or Well-Rotted Manure: Delivers steady, slow-release nutrition and supports a thriving soil microbiome.
- 20% Aeration and Moisture Retention: Blend in coconut coir or peat moss for water holding capacity, along with perlite, vermiculite or coarse greensand to ensure excess moisture drains freely without waterlogging roots.
- Pre-Planting Soil Testing: Before loading heavy doses of organic fertilizers or lime, run a basic soil test or drainage check. As your organic matter settles by 2 to 3 inches each season, simply top off the bed each autumn or spring with a fresh layer of compost.
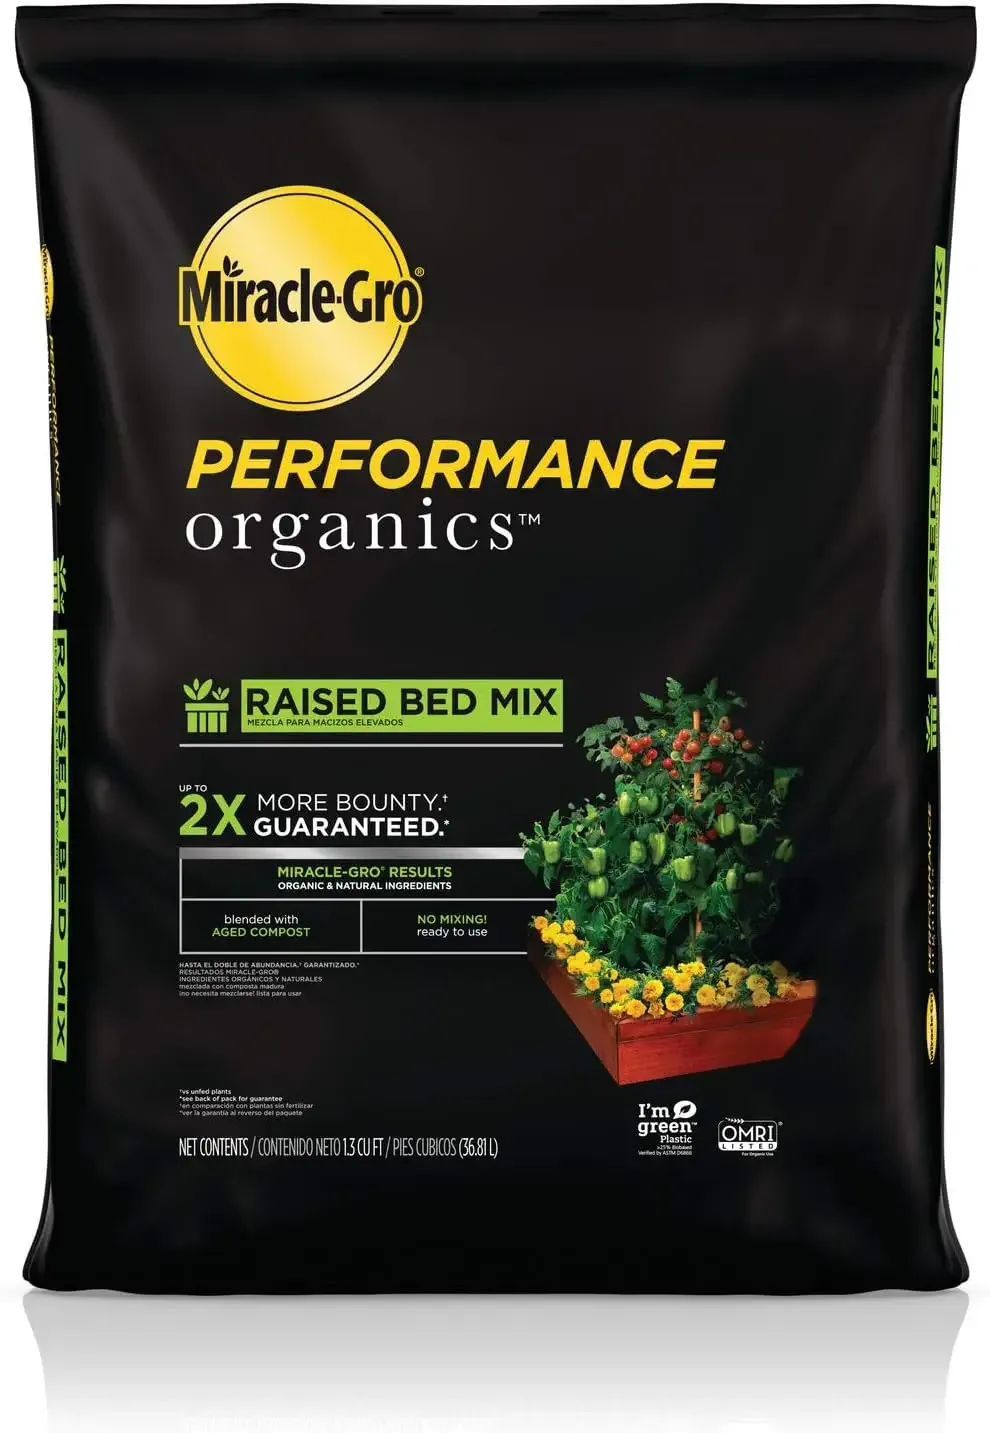
Miracle-Gro Performance Organics Raised Bed Mix
- Ready-to-Use Organic Blend: Formulated specifically for raised beds and container gardens, this pre-mixed medium combines screened compost, sphagnum peat moss and natural plant food without requiring tedious wheelbarrow mixing.
- Immediate Nutrient Availability: Enriched with organic nutrients that feed heavy-feeding crops like tomatoes and peppers right out of the bag for up to three months after planting.
- Consistent Volume & Texture: Retains lightweight loft and resists compaction throughout the season, allowing delicate root vegetables like carrots and radishes to grow straight and uniform.
- Practical Trade-offs & Application: While convenient for topping off existing beds or filling compact 2’ x 2’ frames (which require about two 1.5 cu. ft. bags), buying bagged mix to fill large multi-bed installations purely from scratch can become expensive compared to buying bulk cubic yards of compost and topsoil locally.
Planting and Maintenance
Intensive and Companion Planting
Maximize every square inch of your bed by practicing intensive spacing and companion planting. The Square Foot Gardening method, dividing beds into 12-inch grids, allows you to grow crops close together, creating a living green canopy that naturally shades out weed seeds. Pair mutually beneficial crops together, such as planting marigolds alongside tomatoes to repel nematodes or intercropping fast-growing radishes between slow-maturing carrots.
Smart Irrigation Systems
Consistent moisture is essential because elevated soil warms up and dries out faster than ground-level dirt. Install drip irrigation lines or soaker hoses across your beds right before planting to deliver water directly to the root zone without splashing soil onto foliage. Pairing your drip lines with an automated hose timer ensures your garden receives steady early-morning waterings, reducing evaporation and preventing fungal leaf diseases.
Mulching for Moisture Control
As soon as your seedlings reach a few inches tall, spread a 2-inch layer of organic mulch across the exposed soil. Clean wheat straw, shredded arborist wood chips or chemical-free grass clippings lock in moisture, regulate summer root temperatures and prevent rain compaction while slowly enriching the soil as they decompose.
Weather and Pest Protection
Protect delicate seedlings from extreme weather spikes and hungry wildlife with physical barriers. Installing PVC hoops over your beds allows you to easily drape bird netting, shade cloth or insulating fabrics across seasons. Row covers and cloches are covered in more depth in our guide to using row covers and frost cloths.
Seasonal Upkeep and Bed Accessories
Vertical Trellising and Extension Kits
As your garden expands, modular accessories can significantly multiply your harvest without increasing your footprint. Heavy-duty arched cattle panel trellises or vertical pea frames mounted directly onto the bed walls allow vining crops like cucumbers, pole beans and winter squash to climb upward, keeping fruit clean and maximizing airflow. If you discover your root crops need extra depth, many modular metal and composite frames offer bolt-on extension kits that raise existing bed walls from 11 up to 32 inches without rebuilding from scratch.
Winter Shutdown and Fall Care
When the harvest season ends, clear out spent annual vegetable stalks and fallen fruit to deny overwintering habitat to pests and fungal spores. Spread a fresh 2-inch top-dressing of finished compost over the soil surface, then tuck the bed under a protective winter blanket of straw, chopped leaves or a waterproof tarp to prevent winter rains from leaching out valuable nutrients. For the full pre-winter checklist beyond just the beds, see how to prepare your garden for fall.
Final Thoughts and Your Next Step
Raised bed gardening offers a versatile and highly productive way to grow your favorite flowers, vegetables and herbs, giving you complete command over your soil health and drainage from day one. By choosing durable materials, layering your soil thoughtfully and setting up efficient drip irrigation, your beds will reward you with bountiful harvests with a fraction of the weeding and bending required by traditional ground plots.
Ready to break ground? Start by measuring out your available sunlight and running a quick soil test on your native dirt or compost supply. Once your beds are constructed and filled, check out our seasonal planting guides to map out your first square-foot vegetable rotation!
Frequently Asked Questions
What materials should I use to build a raised bed?
Untreated cedar and redwood are the best wood choices due to natural rot resistance. Corrugated galvanized steel and composite wood are also durable, safe options.
What is the best soil mix for filling raised beds?
A popular and effective mix is 50% high-quality topsoil and 50% organic compost, which provides excellent aeration, water retention and nutrients.
How deep does a raised garden bed need to be for root vegetables?
Most root crops like carrots, parsnips and potatoes require at least 12 to 18 inches of soil depth for unrestricted root development. Leafy greens and herbs can thrive in 6 to 8 inches.
Does a raised garden bed need a bottom?
No, raised beds should generally have an open bottom so roots can reach deeper soil and excess water can drain freely. Use hardware cloth or wire mesh at the bottom only if you need to block burrowing rodents.
How often should raised bed soil be topped off or replaced?
Soil volume naturally settles and decomposes by 1 to 3 inches each season. Top off your beds every spring or fall with a fresh 2-inch layer of high-quality compost rather than replacing the entire soil mix.
Can I build a raised garden bed on concrete or a patio?
Yes, but you must ensure adequate drainage and depth. Line the bottom with heavy-duty geotextile fabric to prevent soil from staining the surface and build beds at least 12 to 18 inches tall.
Our Amazon Storefront
Browse all our recommended tools & supplies
Everything we personally use and trust, hand-picked for gardeners like you.

I've been running DWC and Kratky systems for several years and write about what actually works, not textbook theory. Follow along for honest product reviews, practical guides and real grow results.